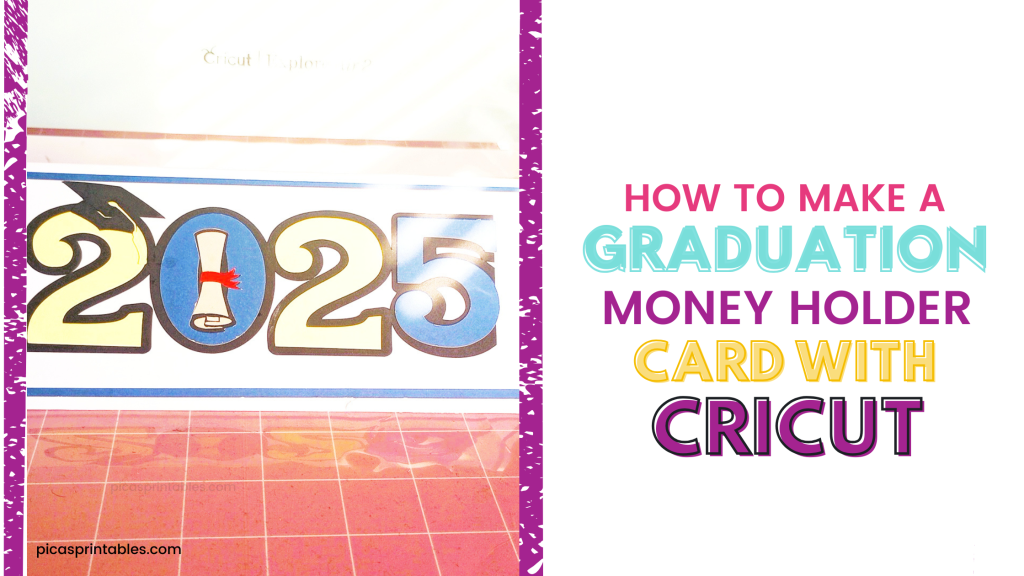
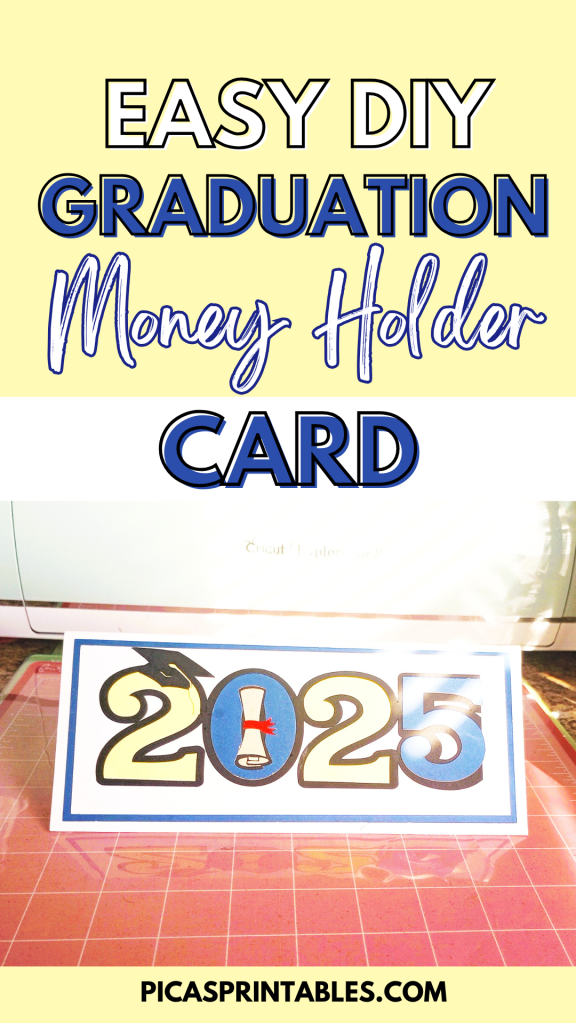
Graduation season is here! So if you have a teen, middle school student or college grad it can be hard to figure out what to get them. That’s why my go to gifts are gift cards and money. You can’t go wrong!
But I know a lot of people feel like those gifts are boring. They don’t have to be when you have a Cricut! I am going to show you how to make a graduation money holder card with your Cricut.
I am going to show you how to design it from scratch without a SVG file! It’s easier than you think.
*Affiliate Disclosure: This post may contain affiliate links, which means I may receive a commission, at no extra cost to you, if you make a purchase through a link. Please see my full disclosure for further information.
*Amazon Affiliate Disclosure: I am a participant in the Amazon Services LLC Associates Program, an affiliate advertising program designed to provide a means for me to earn fees by linking to Amazon.com and affiliated sites.
Materials:
- Cricut or any cutting machine
- Standard or light Grip Mat
- 12×12 cardstock for card base
- Any size cardstock for other parts of the card
- SVG File for the year or make your own in Cricut design space
- Glue, double sided tape or foam tape
- Brayer
- Scoring stylus or scoring wheel
- Cricut Pen (optional)
Step 1: Create the Card Base
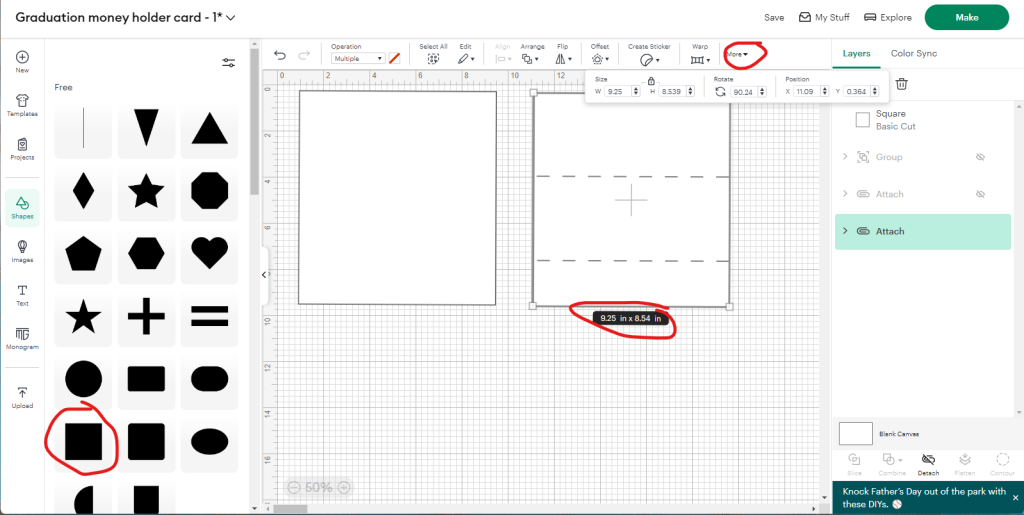
Okay now the card on the right is what the graduation money holder card base is supposed to look like after you add the score lines. You’re just going to click on shapes. Then click on the square one.
After that, change the width to 9.25 and the height to 8.5. Then click the lock so the size doesn’t change.
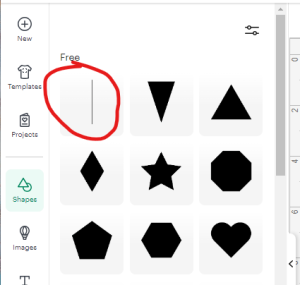
Then click on shapes again and click on the line I have circled. This is the score line.
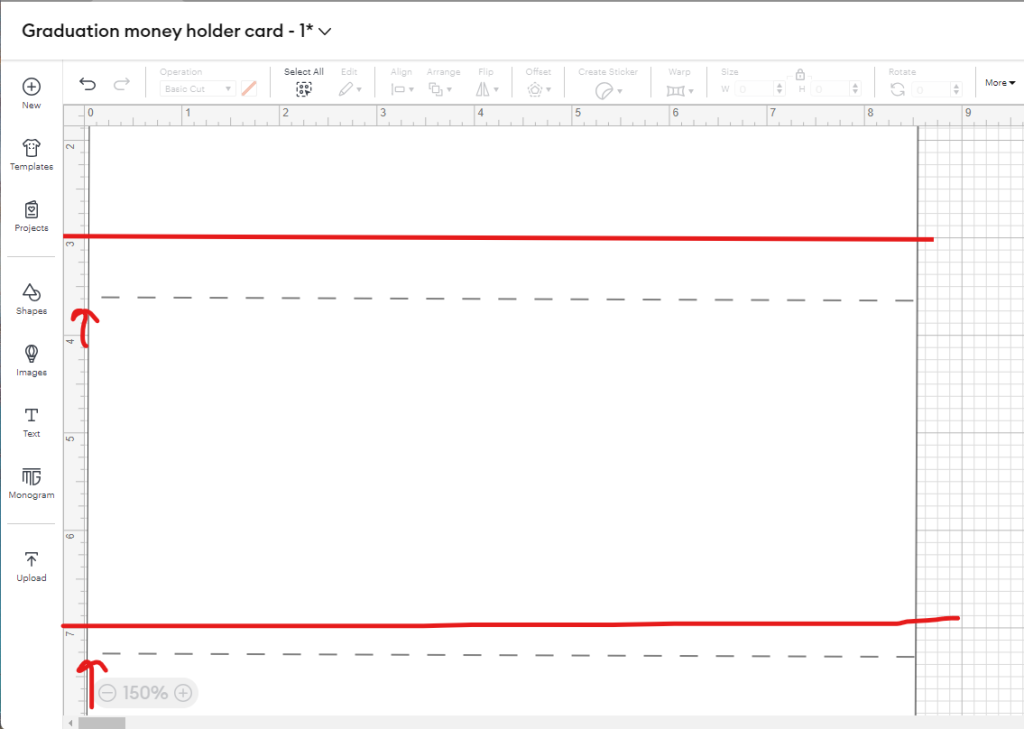
You’re going to add two score lines. Put both score lines exactly where I have mine placed at. The first one is placed at 3 and 5/8 inches. The second one is placed at 7 and 1/4 inches. If this feels a little confusing there is another way to add the score lines to the right places.
Click on the first score line. Then go to where it says Y-position on the menu at the top of your screen. Then type in 3.625. It should put the line exactly where I have mine.
Do the same for the second score line. But enter in 7.25 in the Y-position. Ignore the red lines I have on the screenshot. I was trying to add attention to the score lines.
Once you’re done highlight the whole card and click attach.
Related Post: How to Make Stickers with Your Cricut
Step 2: Create the Graduation Year or Upload SVG File
The graduation year I use for this card I downloaded it from printablecuttablecreatables.com. It’s totally free. I love this website because they have such a good variety of SVG files.
All you have to do is once you download it is upload it into Cricut design space. This file doesn’t need any prep. Or you can create your own graduation saying for the front of this card if you prefer.
Step 3: Create the Rectangle Pieces to go Behind the Grad Year (optional)
This step is totally optional. I am adding it to the front of my card to just give it a little something extra. All you’re going to do is click on shapes.
Then change the shape to fit the top of the card above the first score line. Use whatever colors you want. I am using navy blue and white.
Step 4: Add Your Sentiment (optional)
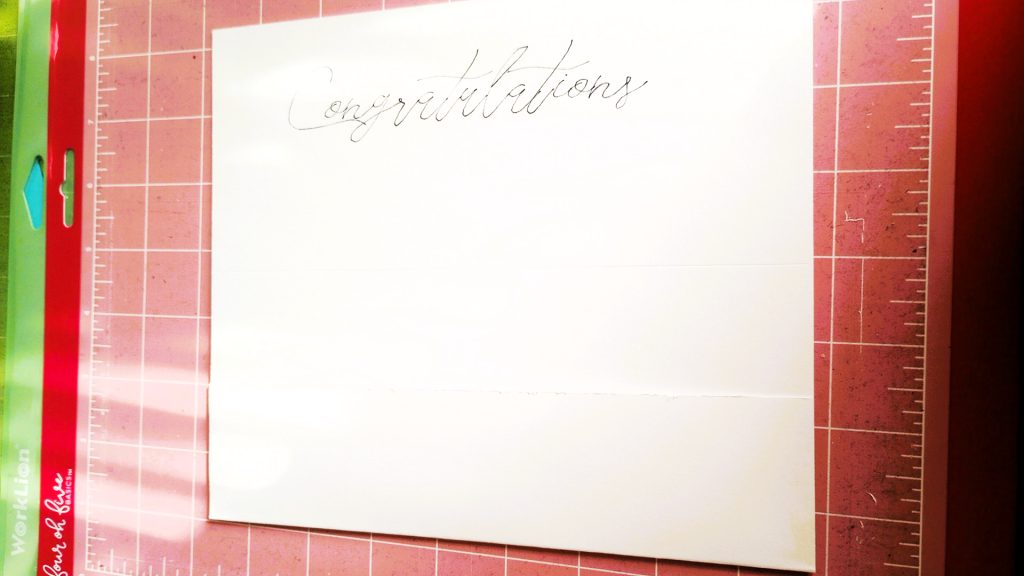
This is for the inside of the card. You can have your Cricut write the sentiment for you. Just type out the sentiment you want. Use a writing font. Cricut design space has some that are free.
Then change the operation on the text to pen. Once you’re done attach the text to the top part of the card above the first score line.
Step 5: Cut the Graduation Money Holder Card
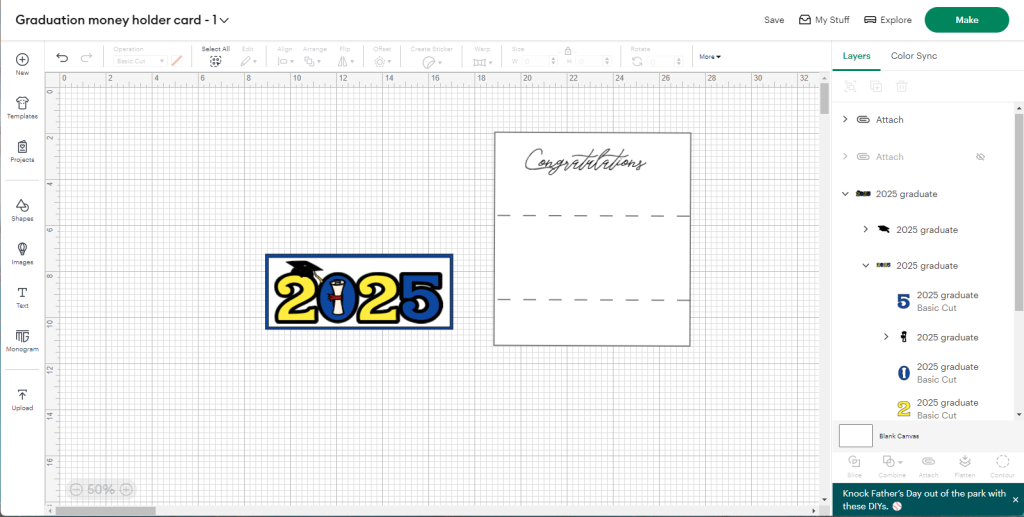
This is what your card should look like. Of course use whatever colors you want. Once you’re happy hit make.
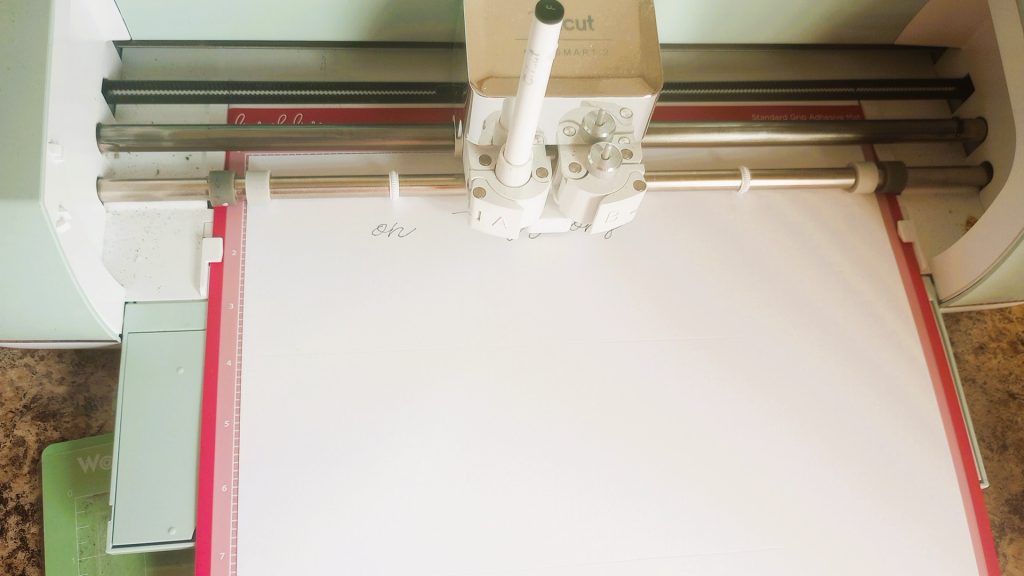
Now for me I used heavy weight cardstock. So I selected that with my Cricut. Select whatever weight cardstock you’re using for all of your pieces.
If you’re switching between different weights of cardstock make sure to switch materials in your machine. You want to make sure your cardstock cuts properly.
Make sure to add your scoring stylus or scoring wheel when prompted. If you added a sentiment like I did, add your Cricut pen when prompted.
Step 6: Put the Graduation Year Together (optional)
Okay now if you’re using the same SVG file I did then this step is for you. If you made your own grad year but didn’t add multiple layers you can skip this step.
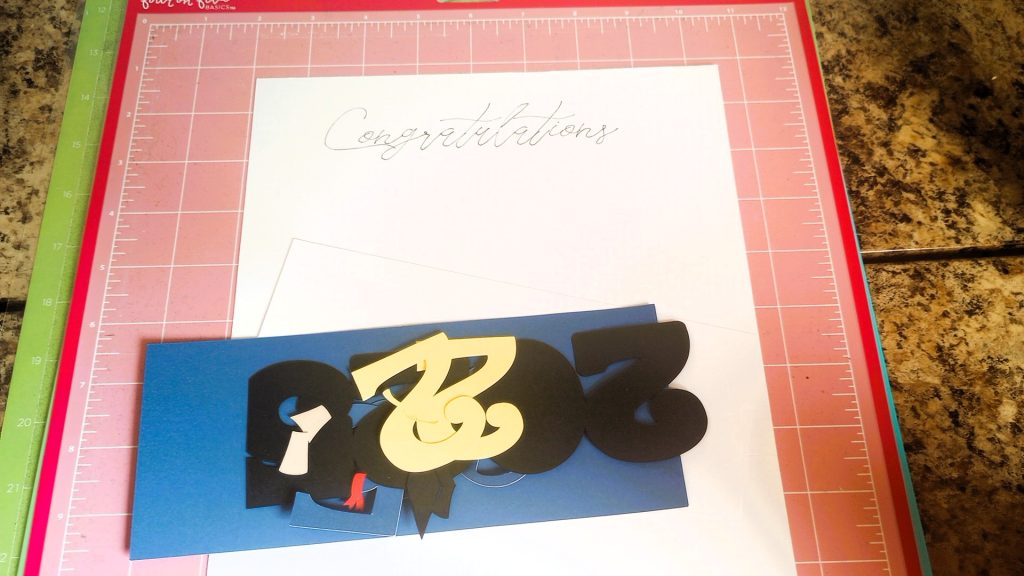
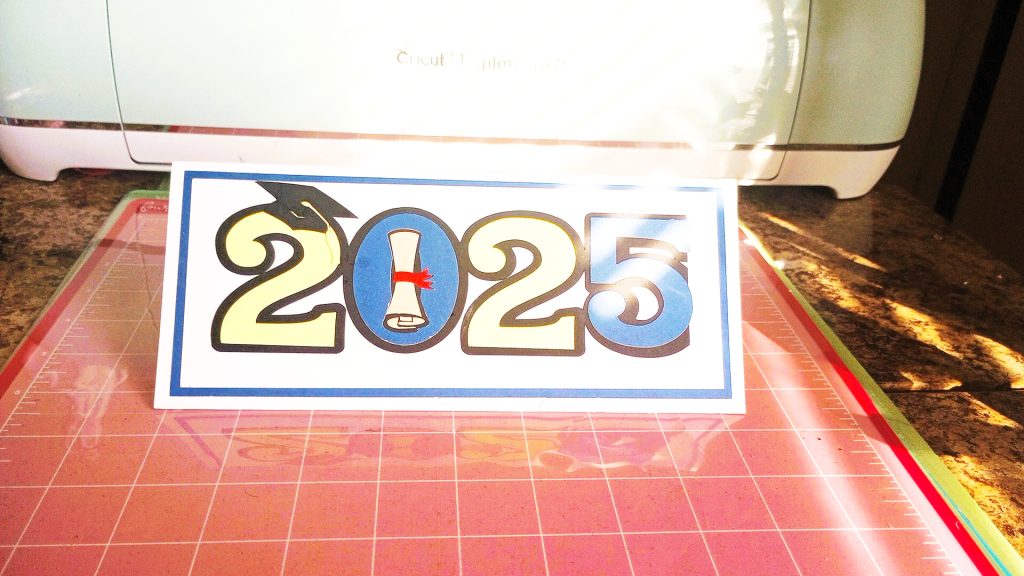
If you just have one layer for the year all you have to do is glue it to the front of the card. The above picture is what everything will look like when cut.
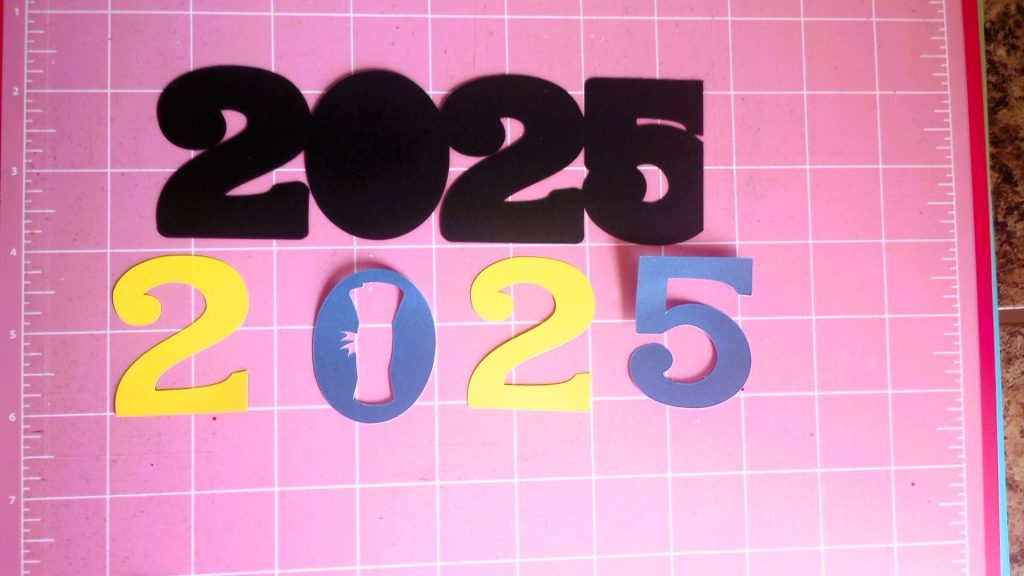
The above picture shows what the year looks like when cut. All you have to do for this part is adhere the numbers to the black piece. For mine I used black cardstock scrap I had. But it wasn’t wide enough. So the five at the end was partially cut. It’s not supposed to look like that.

For my card I used glue to adhere the numbers to the black piece. I prefer glue or foam tape most of the time. There are two other pieces to cut out besides the numbers.
One piece is the diploma and the other is the grad cap. The diploma goes in the middle of the zero. The pieces are small. So make sure to not lose them during the cutting process.
If you aren’t sure how the diploma pieces fit inside the zero just look at my picture below.

This what the file looks like when completed. I used glue for the diploma pieces. The top part of the diploma goes first. Then the red ribbon, and then the bottom pieces.
Step 7: Adhere the Rectangle Pieces Together (optional)
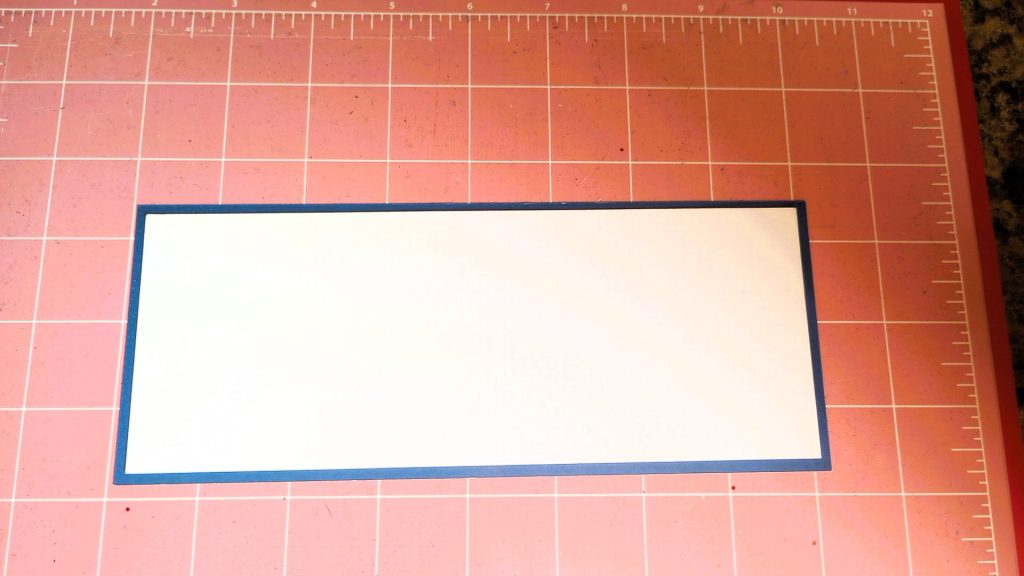
This step is completely optional. I did it for my card to give it something extra. You could even use glitter cardstock instead of plain like I did.
All I did was glue the white piece to the navy blue piece. This goes on the front of the card before you add the grad year. If you already added the grad year then skip this step.
Once you’re done with this part you can add the grad year to it. I just used glue. But you can use foam tape instead.
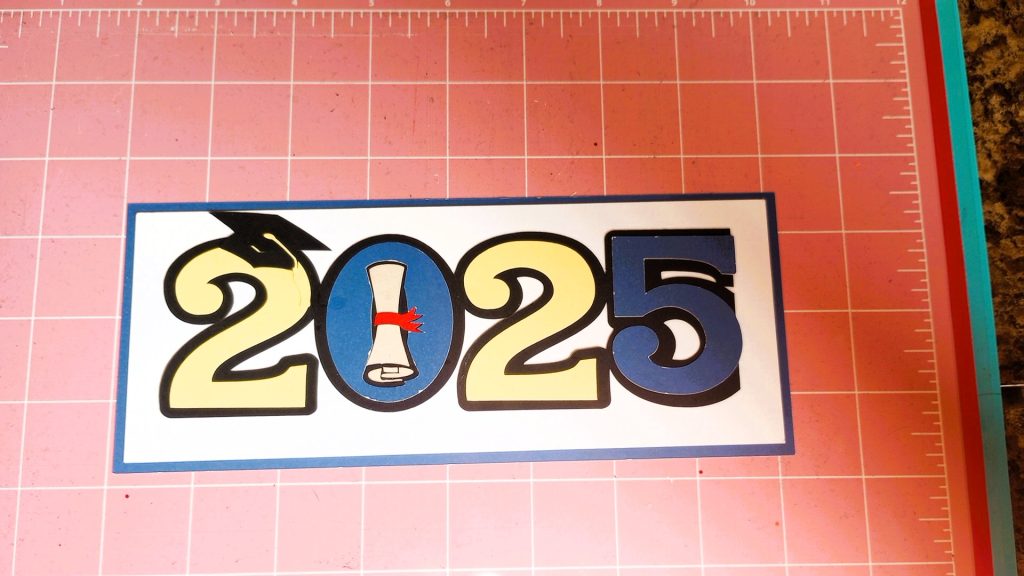
This is what it looks when completed. This is will go on the front of the card. The front of the card is the top flap above the first score line. It’s the side with no writing on it.
Step 8: Glue down the Bottom Flap
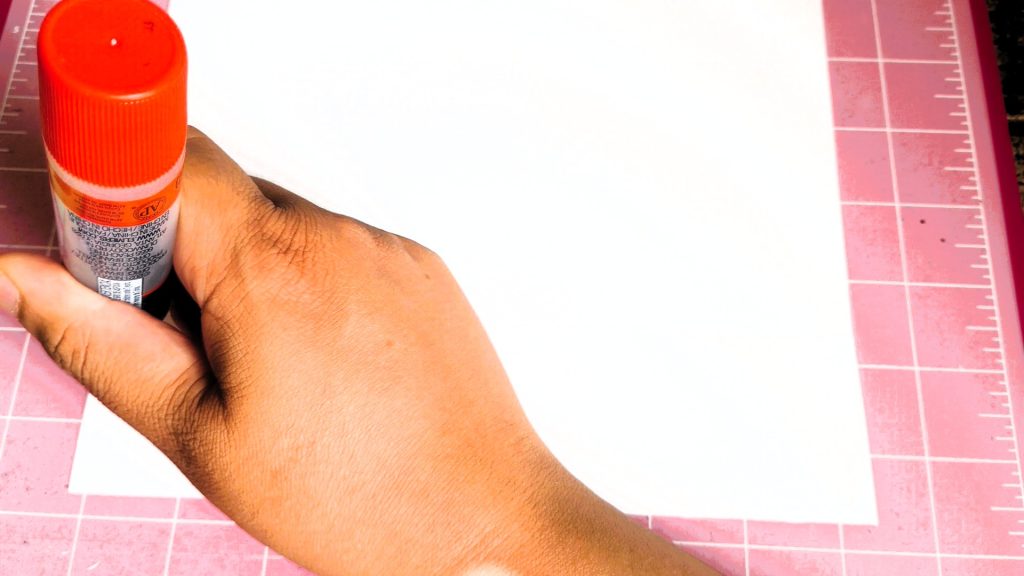
Now for this part you’re only adding adhesive to the left edge like I am and to the right edge. But stop adding adhesive when you see the bottom score line. Add the adhesive in a line. You don’t need to add any adhesive to the bottom because when the flap is folded the bottom will be the top part.
Take a look at the picture below to see what I mean.
Sorry I know the picture was taken on weird angle. But this is what the bottom flap looks like when completed. This is where the money will go. You can add something decorative to it if you prefer.
Step 9: Finish the Graduation Money Holder Card
This is what the card should look like when finished. From the last you’ll fold the along the score line. Then add the 2025 card panel to the front. Once again I used glue but you can use foam tape instead.
That’s it! You’re all done! It should fit into a slime line type envelope. You can also make one with your Cricut.
Must-read blog posts
How to Setup a Graduation Candy Buffet
Black and Gold Printable Graduation Signs
35 4th of July BBQ Party Food Ideas
Conclusion
I hope this tutorial shows you how easy it is to make a graduation money card holder with your Cricut. We didn’t even need a SVG file to make it!
You can make your own cards from scratch in Cricut Design Space! I hope my tutorial gave you the confidence to make your own card projects from scratch!
Feel free to share your finished project with me on Instagram. Just tag me @picasprintables and I’ll add it to my stories!
Recent Comments