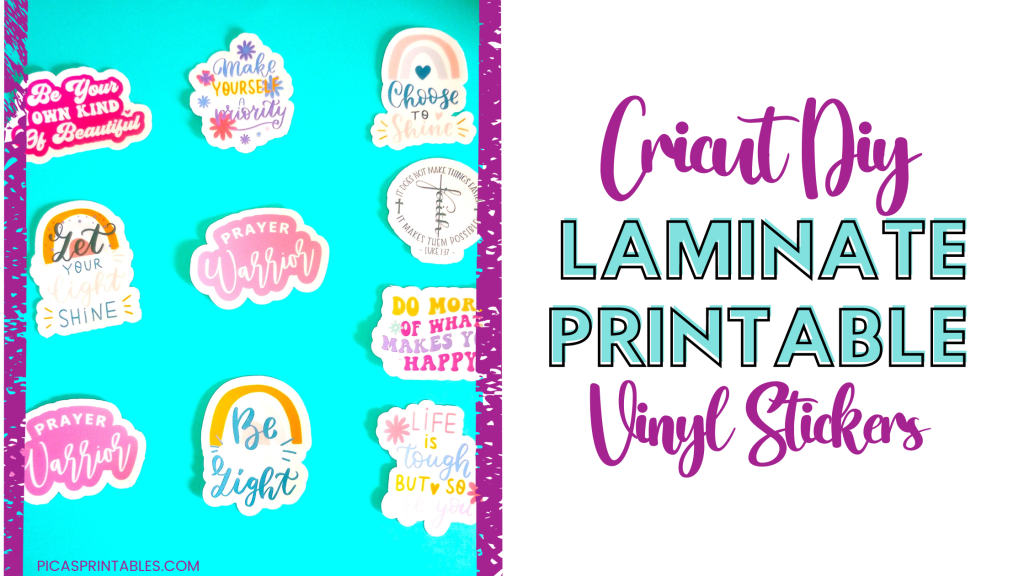
One of my favorite Cricut crafts to make is printable stickers. They don’t require a lot of materials. All you need is paper and a printer. But just because the sticker paper says it’s waterproof doesn’t mean it is. Water-resistant and waterproof are different. Today I’m going to show how to make waterproof vinyl stickers.
This method I’m going to show will make your stickers waterproof. This method even makes them scratch proof too. If you want to make stickers that last keep reading.
*Amazon affiliate disclosure: I am a participant in the Amazon Services LLC Associates Program, an affiliate advertising program designed to provide a means for me to earn fees by linking to Amazon.com and affiliated sites.
*Affiliate Disclosure: This post may contain affiliate links, which means I may receive a commission, at no extra cost to you, if you make a purchase through a link. Please see my full disclosure for further information.
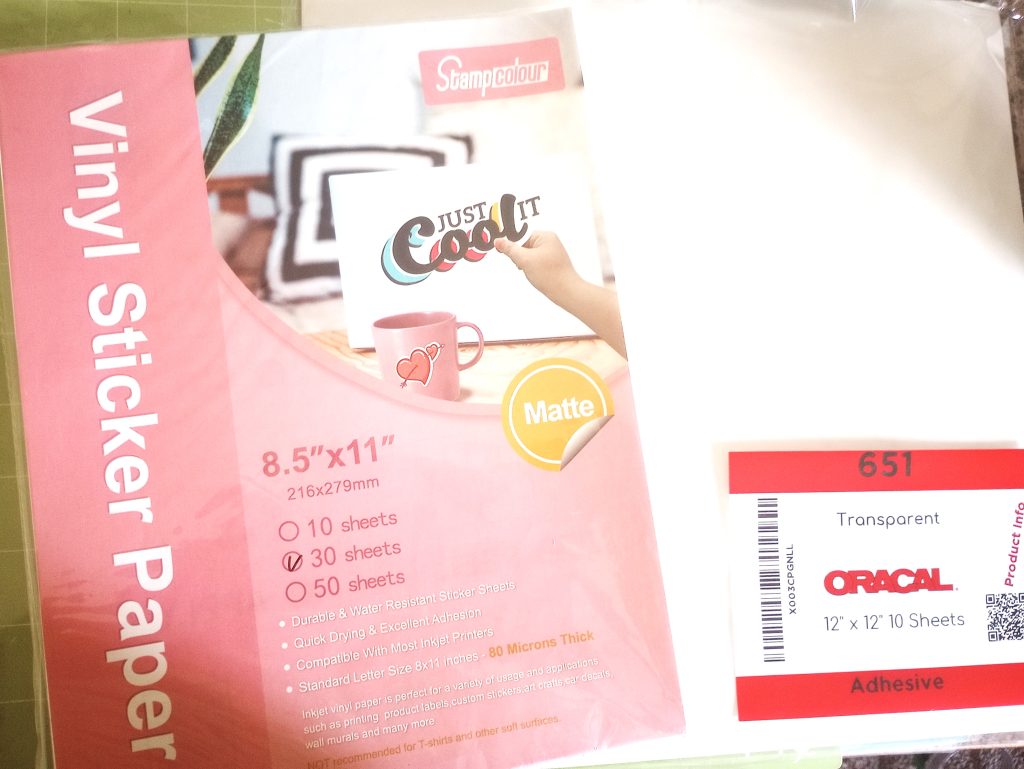
Materials needed:
- Cricut Explore Air 2, Cricut Explore 3, Cricut Maker 3, or any Cricut machine that can print then cut
- Printable Vinyl Sticker Paper
- Self-Adhesive Laminate sheets
- Transparent Vinyl
- Cricut Cutting Mats
- Printer
SVG files I used:
Can I make waterproof stickers with Cricut?
Yes, you can make waterproof stickers with a Cricut machine. But there are certain materials you must use to make them waterproof. There are certain types of sticker paper you have to use. The Cricut machine alone does not have a feature that makes them waterproof.
What paper do you need to make waterproof stickers?
The best paper to use is printable vinyl sticker paper. Regular sticker paper absorbs moisture. This is because it’s made out of paper. In comparison, printable vinyl is made from vinyl. So, it lasts longer with water. I’m going to show you how to use it.
Do I have to buy a laminating machine to make waterproof stickers?
No, you do not. You can if you want to. But with the method I will show, you don’t need it.
Step 1: Create or Upload your stickers into Cricut Design Space
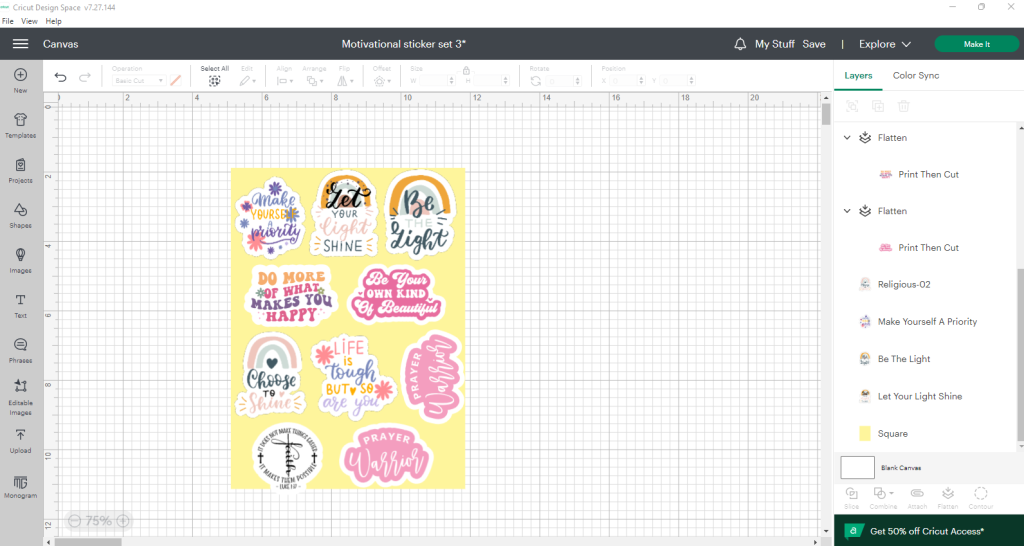
If you want to make this easier you can upload done-for-you stickers into Cricut Design space. I got mine from Creative Fabrica. I linked to the exact printable stickers I used in the SVG section above.
You can design your own if you prefer. If you’re making quote stickers you have to add an offset. If not your Cricut machine will not cut it right.
Here’s how to add an offset layer:
- Select your whole sticker design
- Click on the offset tool in the upper toolbar
- Then adjust the slider to change the thickness of your offset
- Then change the color of the offset to white
- If you see any holes in the offset click on the counters button. Then select hide all counters.
- Now select both the offset layer and sticker design. Then click flatten.
How to make a full sticker sheet:
- First, go to shapes and pick the square shape
- Then click the unlock icon button on the top toolbar so you can resize it
- Change the dimensions to 6.75 in. x 9.25 in. for 8.5×11 inch paper
- Change the color to whatever you want so you can see your stickers
- Then add as many as you can to the rectangle.
- Make sure you click forward on the toolbar if your stickers go behind the rectangle
- When you’re happy with your sticker placements, hide the rectangle in the layers panel
- Then select all of your stickers. Then hit attach.
Now you’re ready to make your stickers. Just hit the make it button.
Related Post: How to Make a Graduation Money Card with Your Cricut
Step 2: Print Your Stickers
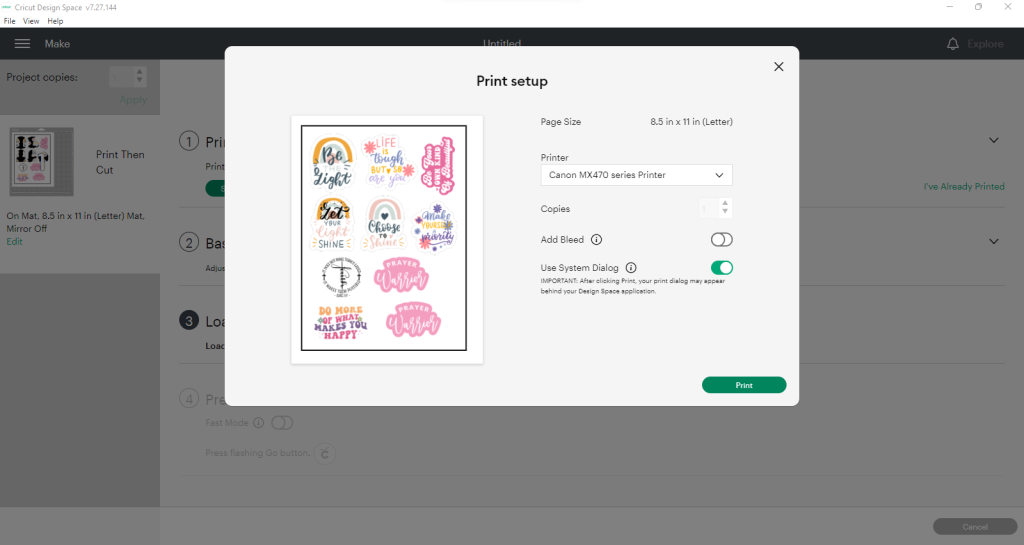
Since your stickers are already set to print then cut, you’ll be prompted to send them to your printer. Load your printable vinyl sticker paper into your printer.
This is the printable vinyl sticker paper I recommend. I love the feel of it, the ink dries quickly, and it has a good print quality.
For my stickers, I turned the bleed off. I did this because my offset is set to white. So, I don’t need the bleed. I use my system dialog box.
For my printer, I changed the paper type to photo paper matte. I keep the printer quality standard. Then I hit print.
Step 3: Add the Transparent Vinyl or Self-adhesive Laminate sheet
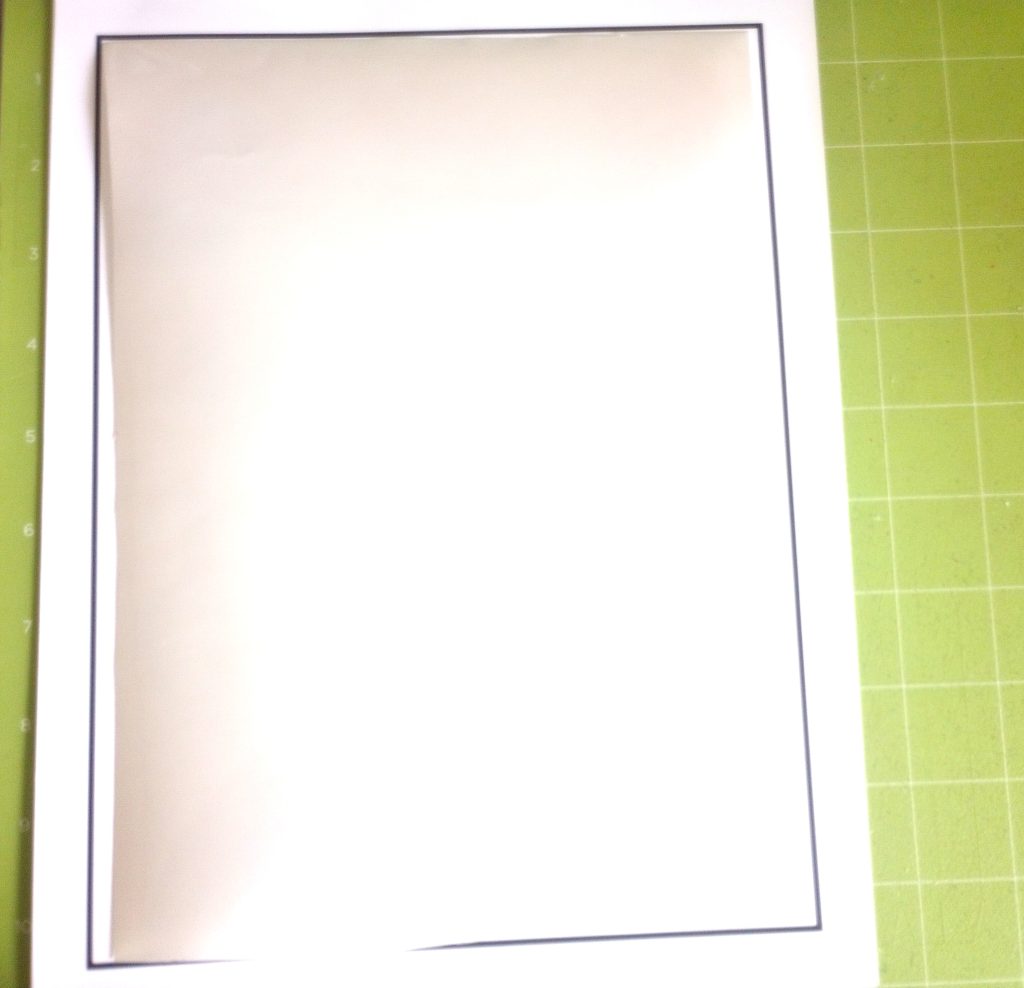
Before you add your sticker sheet to your Cricut cutting mat, you have to do one more step. You have to add your transparent vinyl or self-adhesive laminate sheet.
If you have a Cricut Explore Air 2, cut the transparent vinyl or laminate down to fit within the registration marks. If you don’t then the Cricut machine won’t cut the stickers.
I learned this the hard way. If you place the laminate layer over the entire sticker sheet, it’ll be too glossy for the Cricut to read the registration marks.
This is if you have a Cricut Explore Air 2. This is the one I have. I don’t know how it is with other Cricut models.
Once you have it cut down to fit within the registration marks, it’s time to put it on the sticker sheet.
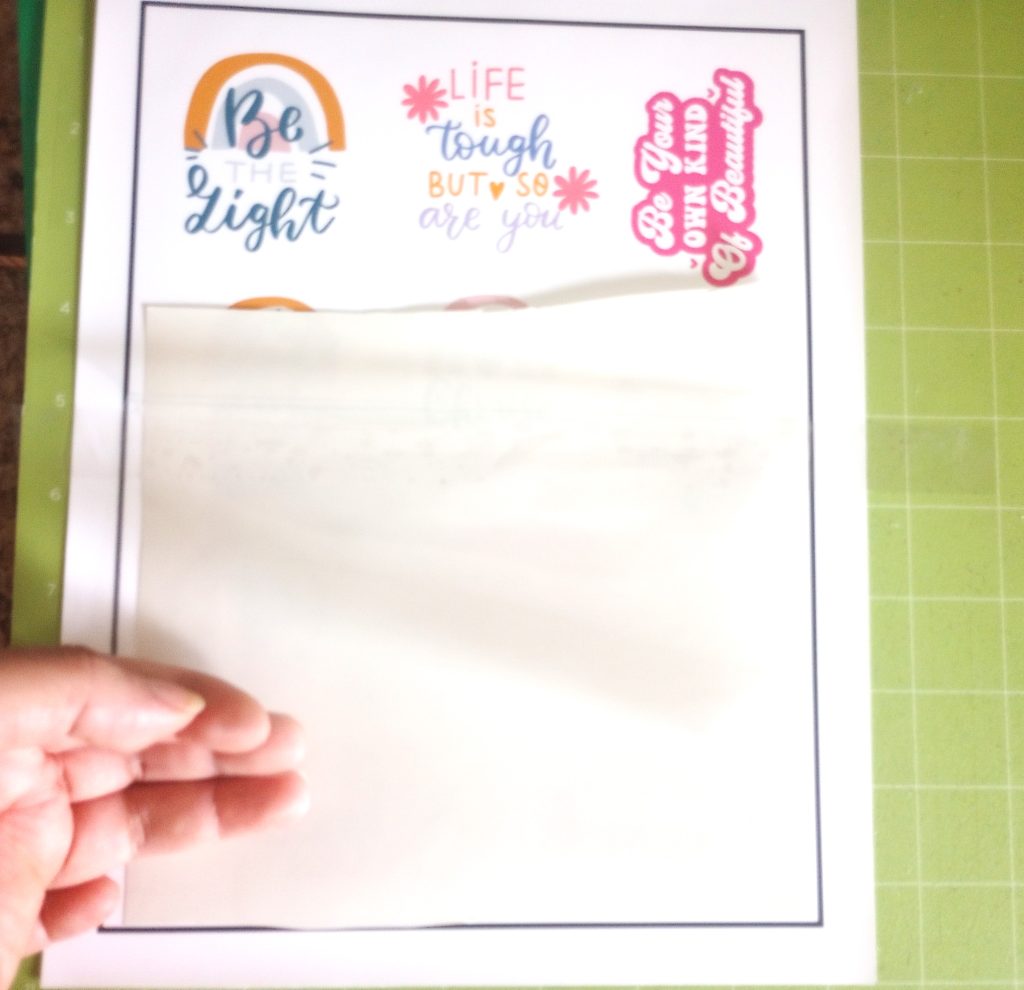
You have to be very careful with this step. With transparent vinyl, it’s very sticky. Once it’s on there, you can’t peel it up and replace it down.
- Cut off the backing of the top part of the transparent vinyl or laminate
- Then carefully match it to the top of the stickers within the registration marks
- Then press it down
- Keep removing the backing little by little and pressing the vinyl down as you go
- Once the clear layer is on your stickers you can go over it with your Cricut scraper

Now your stickers are ready to cut!
Step 4: Cut your printable vinyl stickers
The setting I recommend is cardstock with more pressure. This is if you want die-cut stickers. I prefer die-cut stickers over a sticker sheet. Die-cut is when the stickers are cut all the way through.
But if you prefer a sticker sheet, then use light cardstock with the default pressure setting. Once you pick your settings, insert your mat into your Cricut machine. Hit the arrow on your Cricut. Then hit the C button on your Cricut.
If your machine is different, then the button that’s lighting up to cut the stickers.
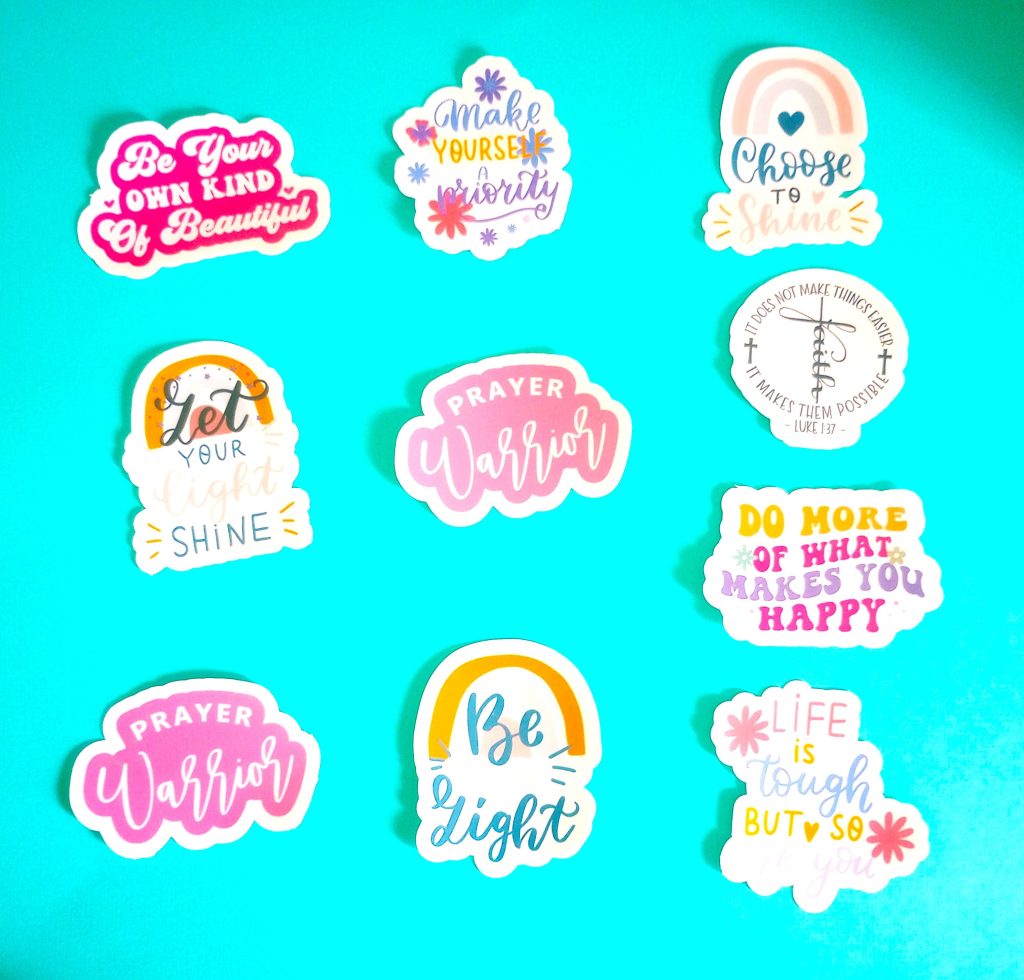
Now you’re done!
Step 5: How to use your waterproof vinyl stickers
You can put these waterproof vinyl stickers wherever you want. If you made die-cut stickers, peel off the backing when you’re ready to use it. You do have to be careful with the placement.
Once the stickers are on the surface, it’s hard to peel them back up. You can place them :
- Notebooks
- journals
- water bottles
- tumblers
- Cups
- planners
- lunch boxes/totes
Must read related posts
How to Make a DIY Halloween Trick or Treat Tote Bag
How to Make a Fall DIY Door Hanger
How to Make a Custom Beach Tote Bag with Color Changing HTV
Conclusion
Making waterproof vinyl stickers is one of my favorite Cricut projects to make. I hope you enjoy making printable stickers with your Cricut too. Using this method, I showed you it can be tricky at first. But once you master it, it’ll be your favorite way to make Cricut waterproof stickers.

[…] How to Make Waterproof Vinyl Stickers […]