As a Cricut enthusiast, I love projects that look complicated but are surprisingly simple to make. This pumpkin shaker is exactly that – a wow-worthy craft that breaks down into easy-to-follow steps. Whether you’re a seasoned crafter or just getting started with your Cricut machine, you’ll be able to create this pumpkin shaker easily.
In this tutorial, I’ll walk you through every step of creating your own pumpkin shaker, from selecting the perfect materials to achieving that satisfying shake effect. Get your Cricut ready, and let’s create some fall magic!
*Affiliate Disclosure: This post may contain affiliate links, which means I may receive a commission, at no extra cost to you, if you make a purchase through a link. Please see my full disclosure for further information.
*Amazon Affiliate Disclosure: I am a participant in the Amazon Services LLC Associates Program, an affiliate advertising program designed to provide a means for me to earn fees by linking to Amazon.com and affiliated sites.
How to Make a DIY Cricut Pumpkin Shaker
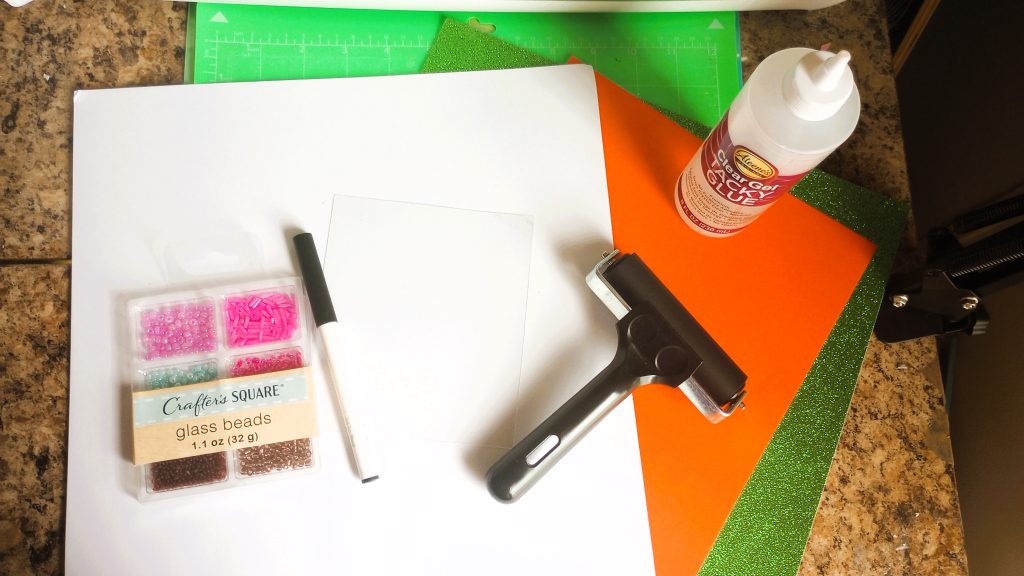
Materials needed:
- Cutting machine
- Orange cardstock
- White, black or gray cardstock
- Green or Brown cardstock
- Liquid adhesive
- Cutting mats
- Brayer
- Cricut pen
- Acetate
- Chunky glitter, or small beads
How to Create the Pumpkin Shaker in Cricut Design Space
For this pumpkin shaker we will not be using an SVG file. I’m going to show you how to make it in Cricut design space. No Cricut access needed.
Step 1) Search for the pumpkin shape in images in Cricut Design space

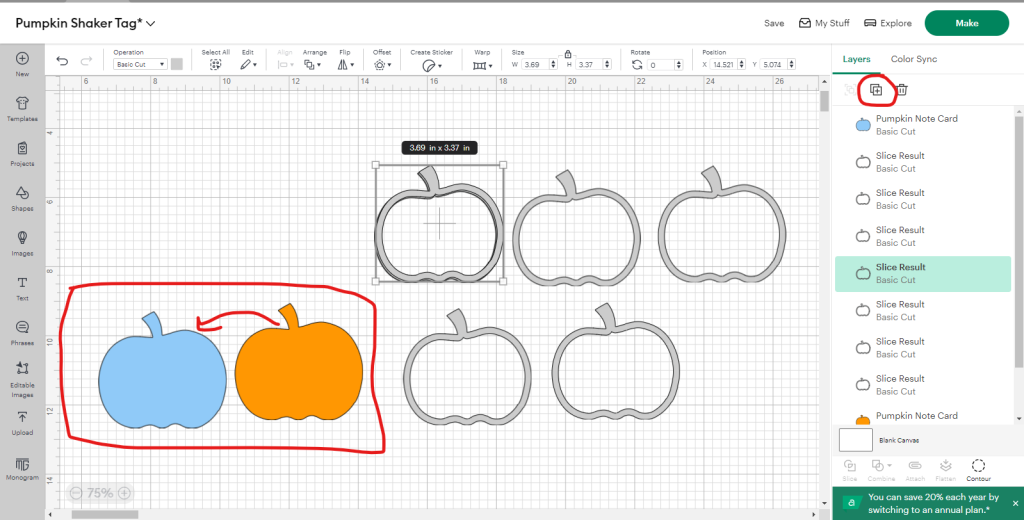
First you’re going to click on images on the left.
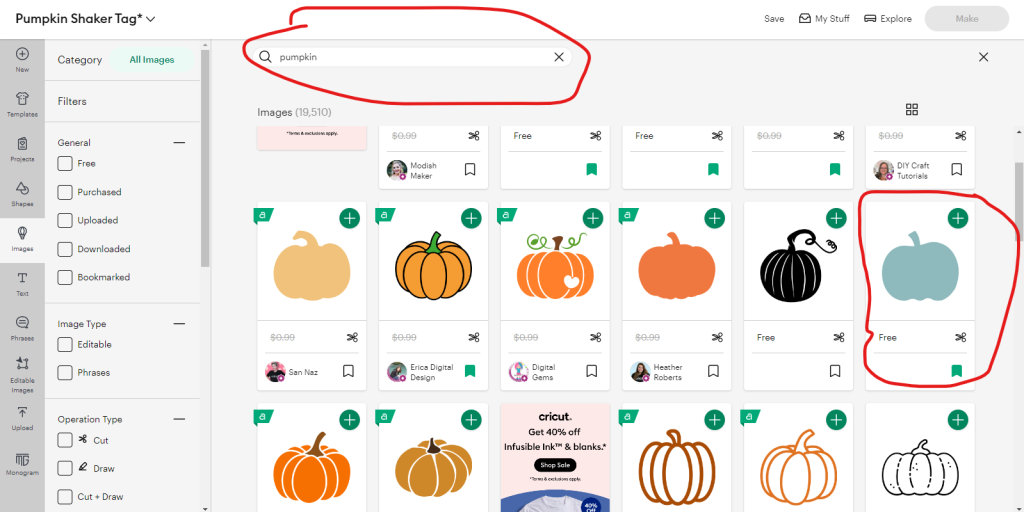
Then type in pumpkin in the search bar. After that click on the pumpkin I have circled in the image above. Now if you have Cricut Access you can choose a different pumpkin shape if you prefer.
The orange one to the left and the yellowish one in the same row are good choices too. Once you selected it click the green plus sign to add it to canvas.
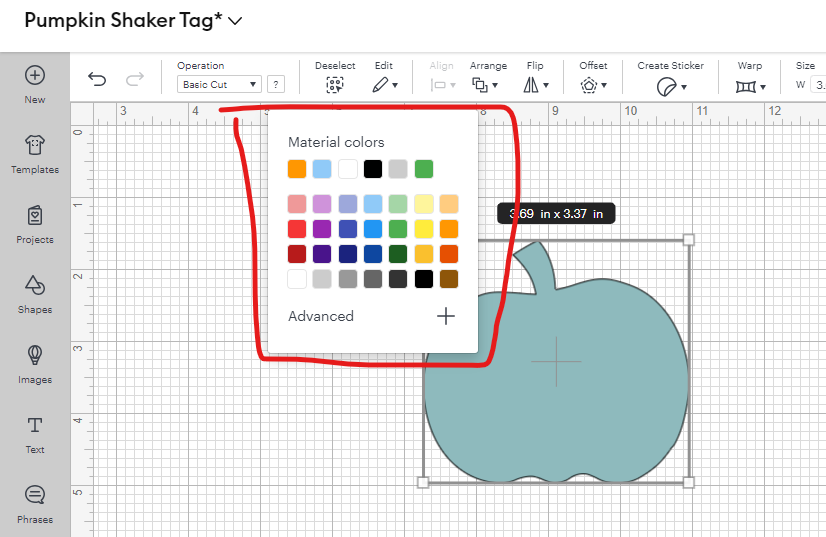
The dimensions I have are 3.69×3.37. But if you want to make it bigger you can. Once you’re happy with the size change the color. I changed mine to orange.
Related Post: How to Make a Halloween Tote Bag with Your Cricut
Step 2) Create the Pumpkin Shaker Outline
In order to make a shaker you have to create an outline that’ll hold the shaker bits inside of it. With this method I am showing you, we won’t use foam tape.
We will cut the shaker outline out of cardstock. But if you want to use foam tape instead you can skip this step. If you want to use cardstock for this keep reading.

Now click on the plus sign on the right to duplicate the pumpkin shape. In Cricut design space they call it a pumpkin note card.
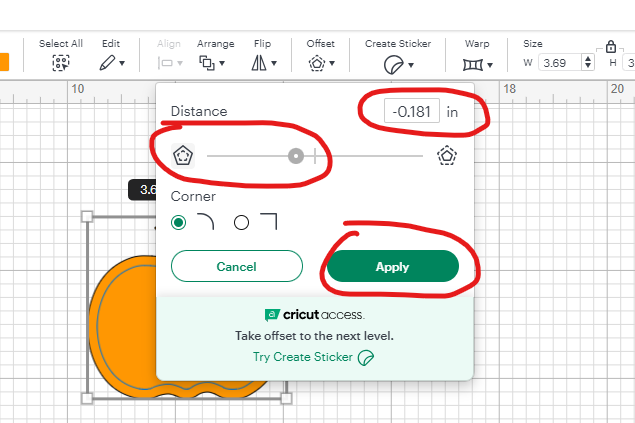
Now click on offset and use the size I have circled above. Then hit apply. Only do the offset on one pumpkin shape. Not both.
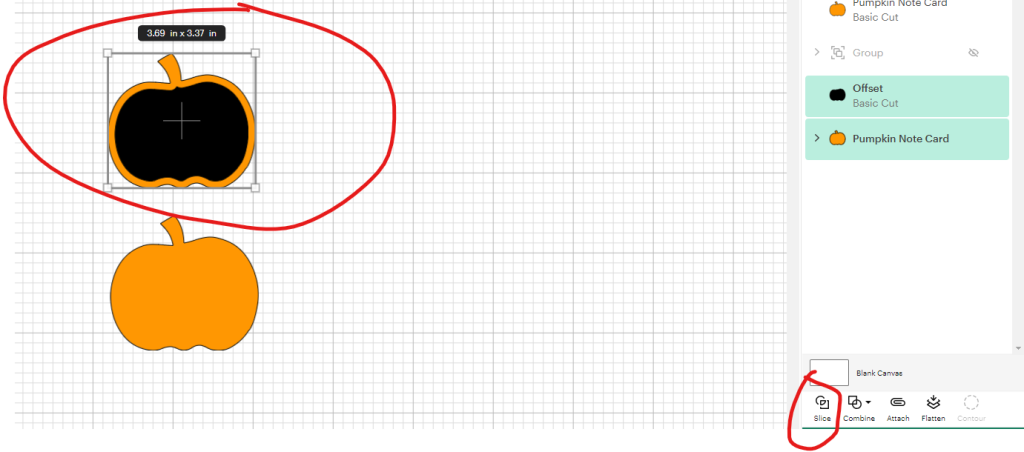
The black shape will appear after you hit apply. That’s okay. It’s supposed to do that. Now select both the layers and hit slice.
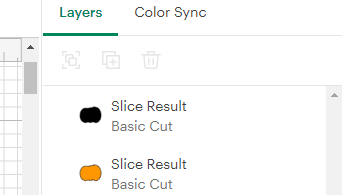
Now you can delete the slice results I have shown above. Just leave the outline. You can see the outline and what it’s supposed to look like in the image below.
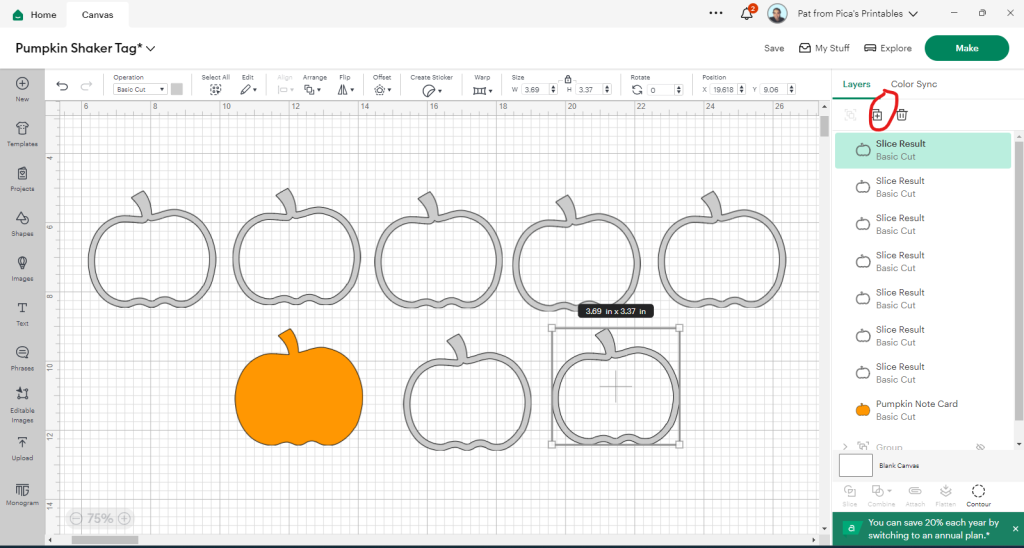
I changed the color of the outline to grey. When you hit slice like in the above image your outline will be orange at first. Once you’re happy with the color hit duplicate.
Now if you’re using light cardstock (65 lb.) I recommend duplicating it 7 times. If you’re using medium or heavy cardstock duplicating it 5 times will do.
Step 3) Create the acetate layer
Click on the orange pumpkin and click the plus sign on the right in Cricut design space.
Then change the color to either grey or blue. This is so you can cut out the acetate layer. Acetate is like a plastic sheet. It goes on the top of the pumpkin shaker.
The reason you’re changing the color is so that your Cricut machine doesn’t cut it out of the same material as everything else.
Step 4) Create your pumpkin shaker sentiments
This step is optional. You don’t have to do this part. But if you want to make a card with your pumpkin shaker keep reading.
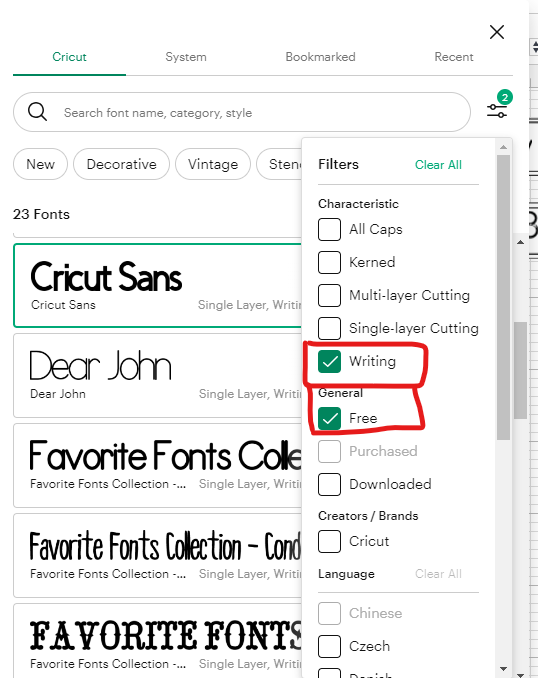
Select text then change the font. Under the font menu select writing fonts.
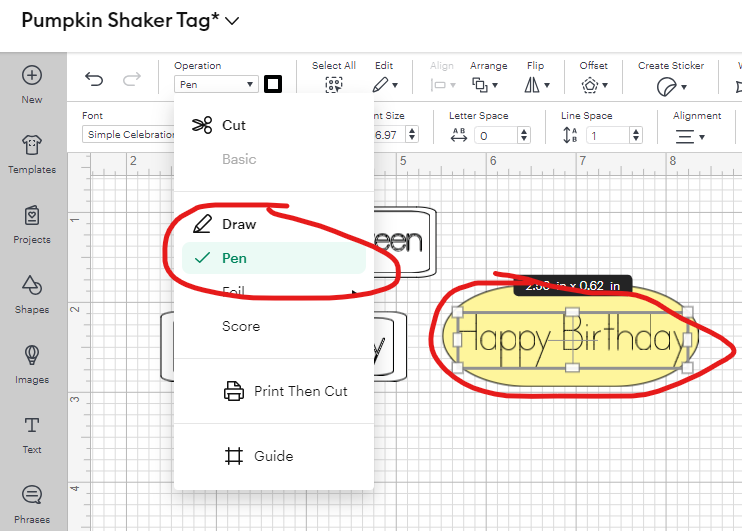
Then once you have written your sentiment click on operation and select pen.

Then once you have selected your shape for your sentiment click attach. You can pick whatever shape, and color. This is where your sentiment will be written on.
Step 5) Hit Make

Once everything looks good hit make it. Notice how I have one of the pumpkin outlines in green. I did this because this is going on top of the acetate layer.
I used white cardstock for the other pumpkin outlines but you can use whatever color cardstock you want. No one will see them.
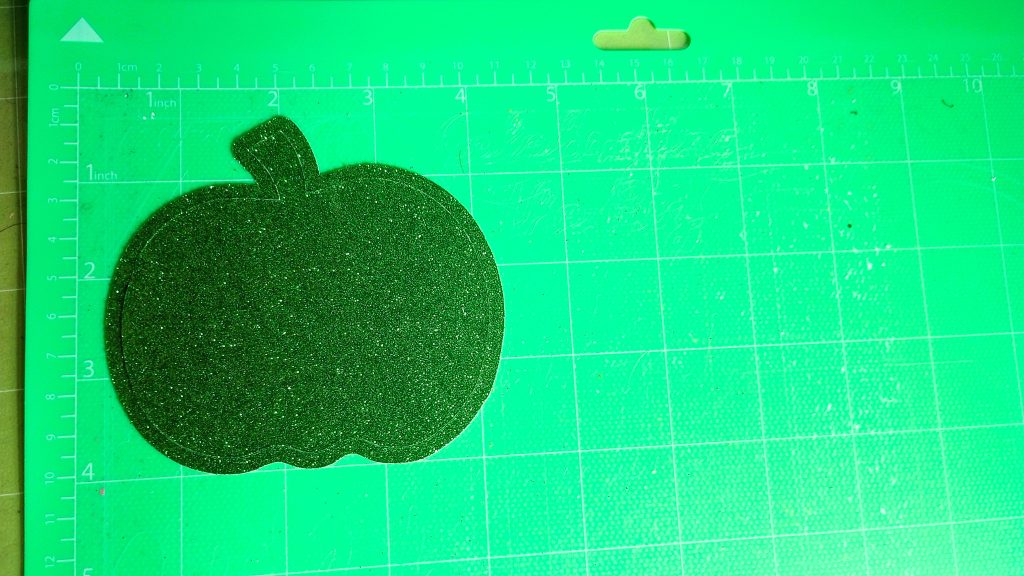
I used glitter cardstock for the green pumpkin outline.
You can use whatever color or patterned cardstock you want for the orange pumpkin.
I have a Cricut Explore Air 2. So I turned the dial on my Cricut to Cardstock. Then switched to glitter cardstock setting for the green layer.
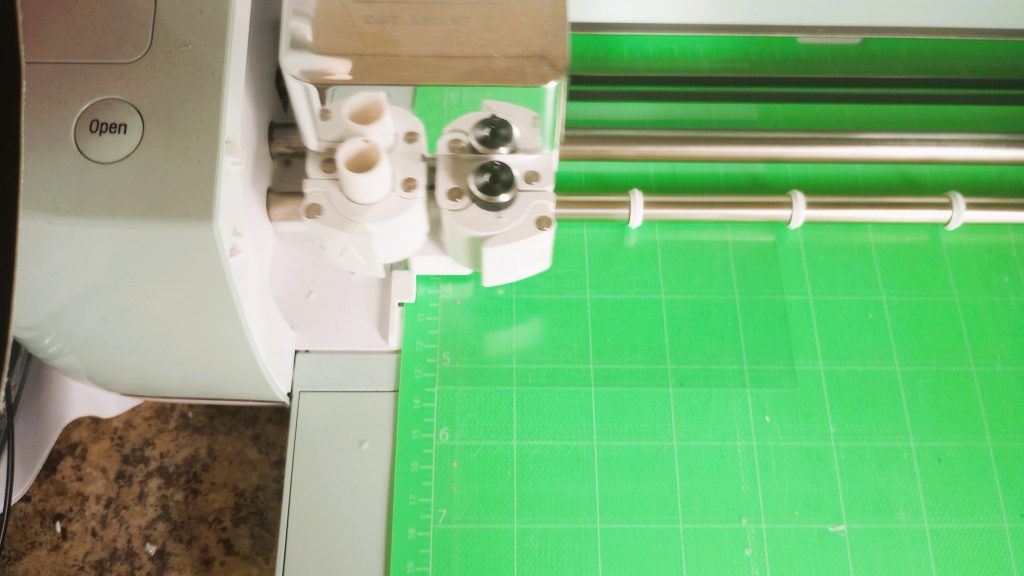
Now on the Cricut Explore Air 2 there is no acetate setting. So I selected foil acetate and ran it through 2-3 times. You can even try the posterboard setting. Acetate is a plastic material.
As you can see in the image I used my deep cut blade. But you can use a fine point blade.
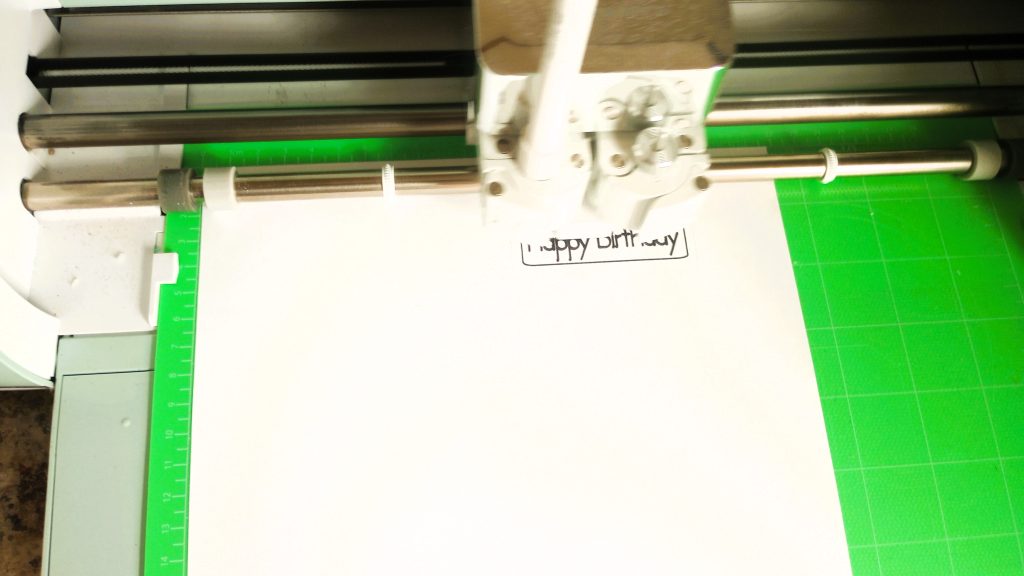
When it’s time to use the pen feature Cricut will prompt you to add in your pen. What I do because sometimes I forget to add it is I’ll add it before it asks. But I only do this if I am not using score.
Step 6: Put the pumpkin shaker together
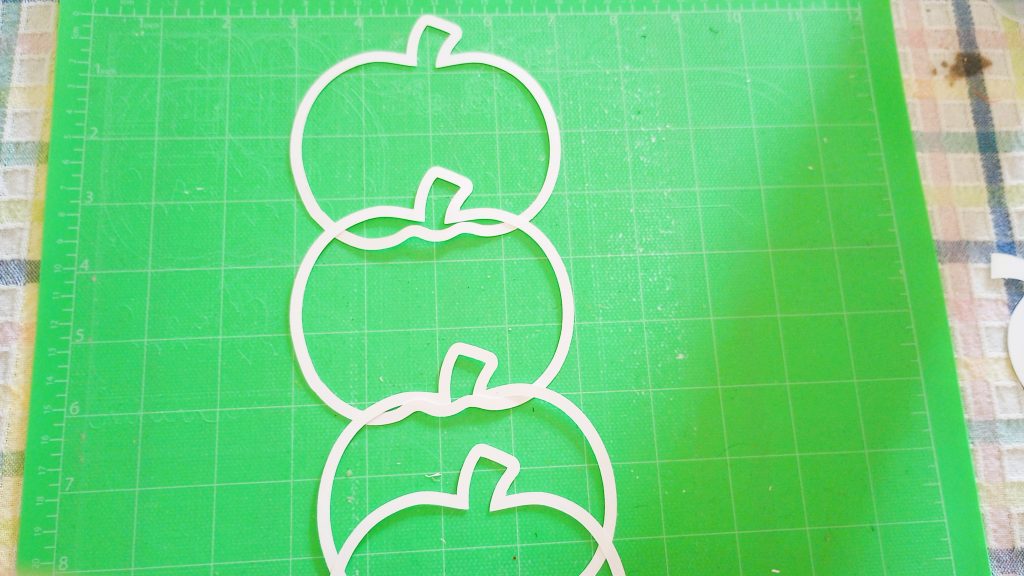
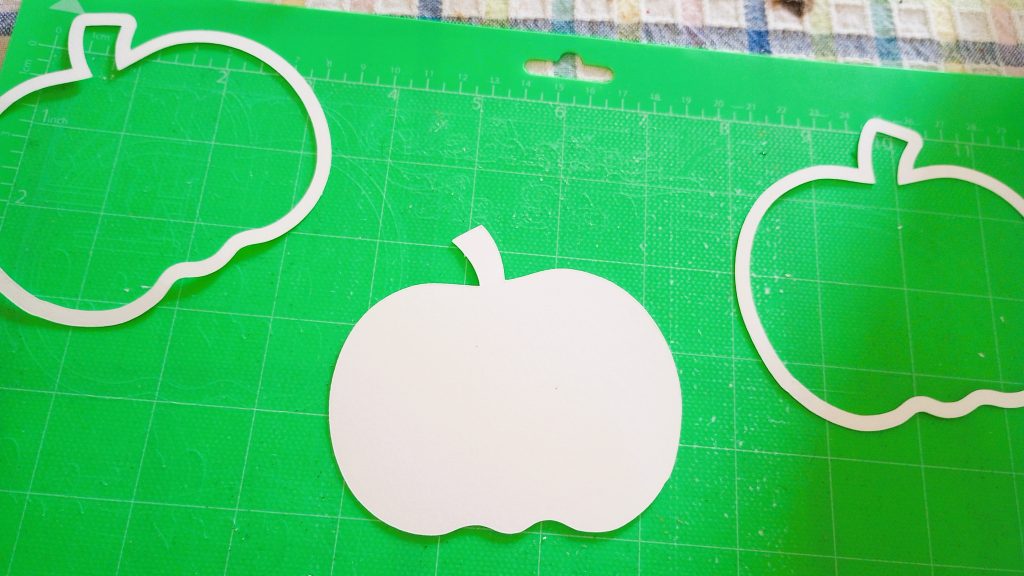
Now the first thing you’re going to do is glue the pumpkin outlines together. You’re going to layer them on top of each other.
If you used light cardstock I recommend cutting out 6-7 pumpkin outlines. If you used medium to heavy cardstock 5 pumpkin outlines is enough.
When you’re done it should look like one pumpkin outline. This is going to be the well that holds the shaker bits inside the shaker.
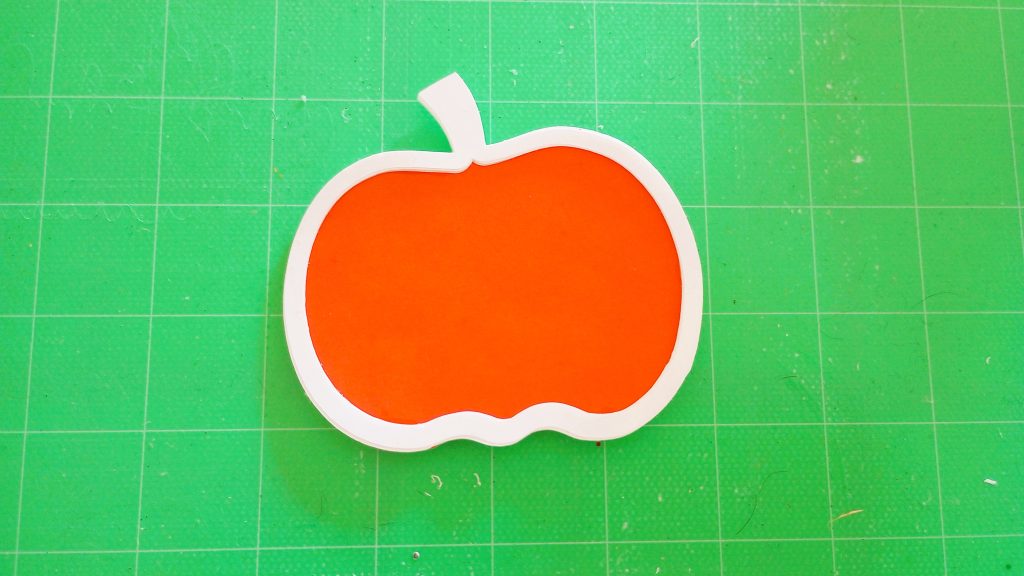
Once you’ve glued the pumpkin outlines together you’ll glue them onto the pumpkin shape. It should look like the picture above when you’re done.
I used Aileens Fast Grab Tacky Glue to glue these outlines together.
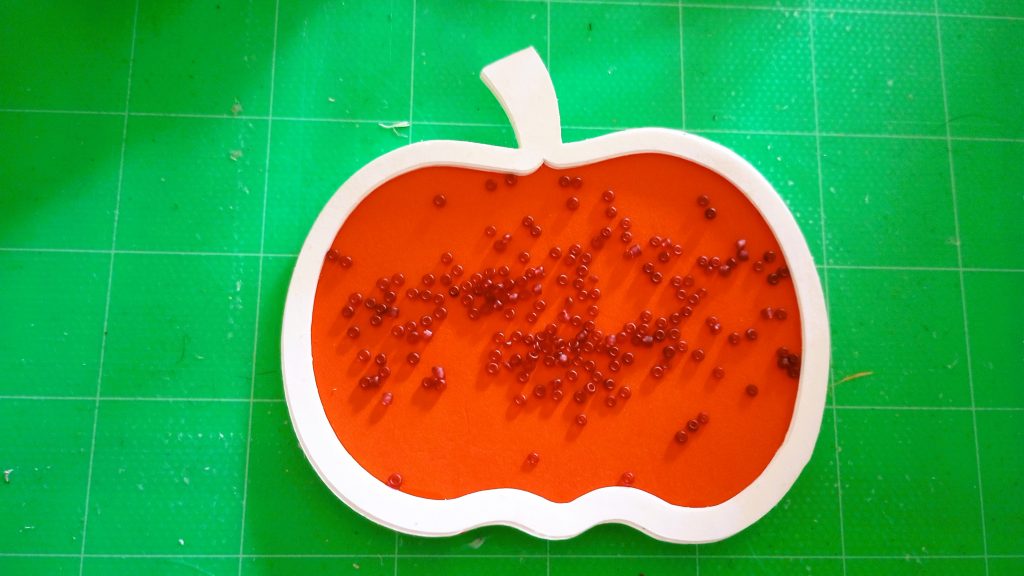
Then add your shaker bits. I don’t recommend fine glitter because it’ll stick to the acetate.
I don’t recommend anything bulky because it has to fit nicely between the shaker and the acetate.
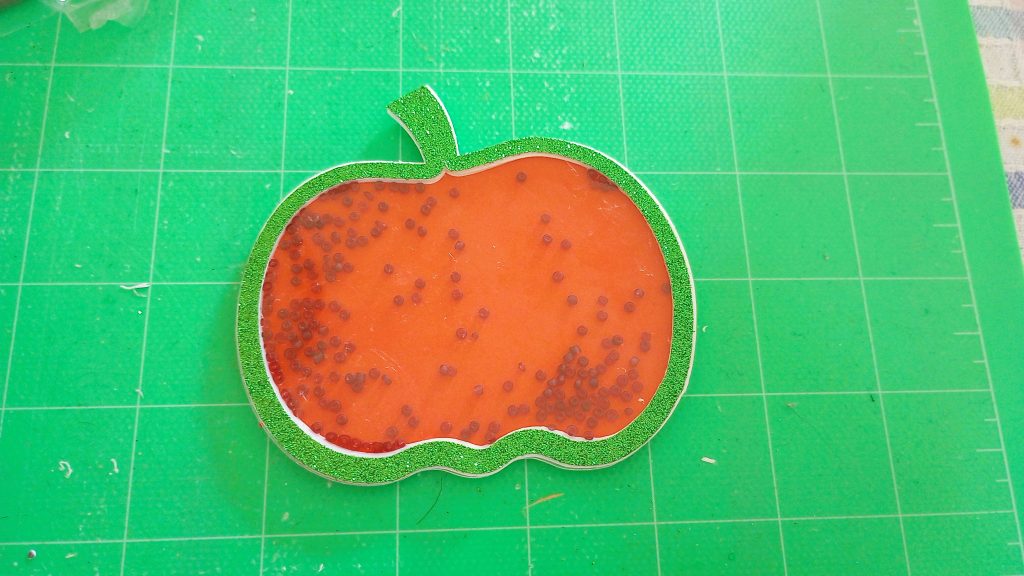
Next glue the acetate to the pumpkin shaker. But it does take time for the glue to dry. So you might want to put something kind of heavy ontop of it while it dries.
Once the acetate is glued to the shaker you can add the last pumpkin outline to the top. The liquid glue I used is Aileens Fast Grab Tacky Glue.
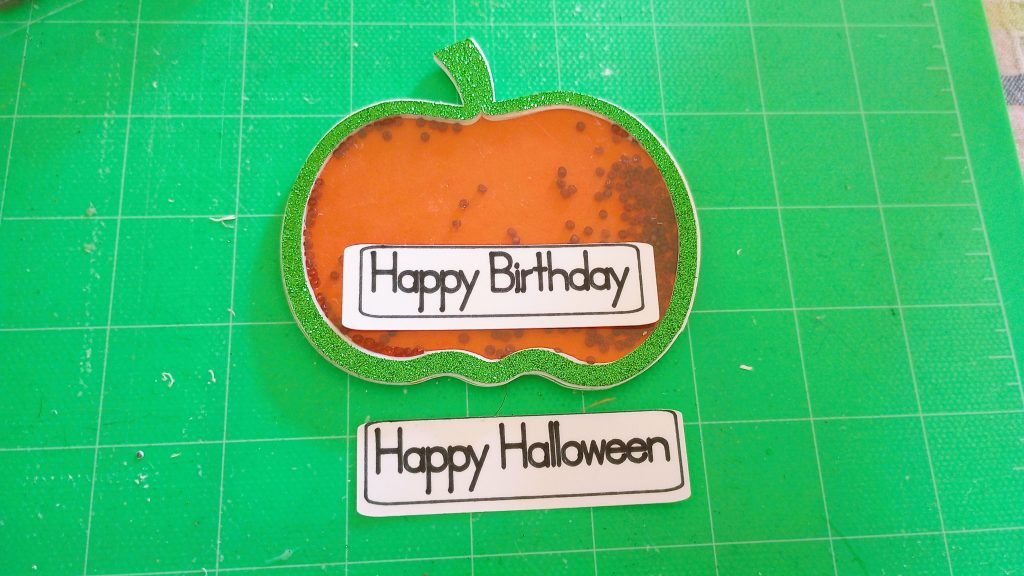
Now you’re finished! The sentiments you can use them on a card. It can be a birthday card, halloween card, or fall card.
You can use foam tape to add the pumpkin shaker to a card front.
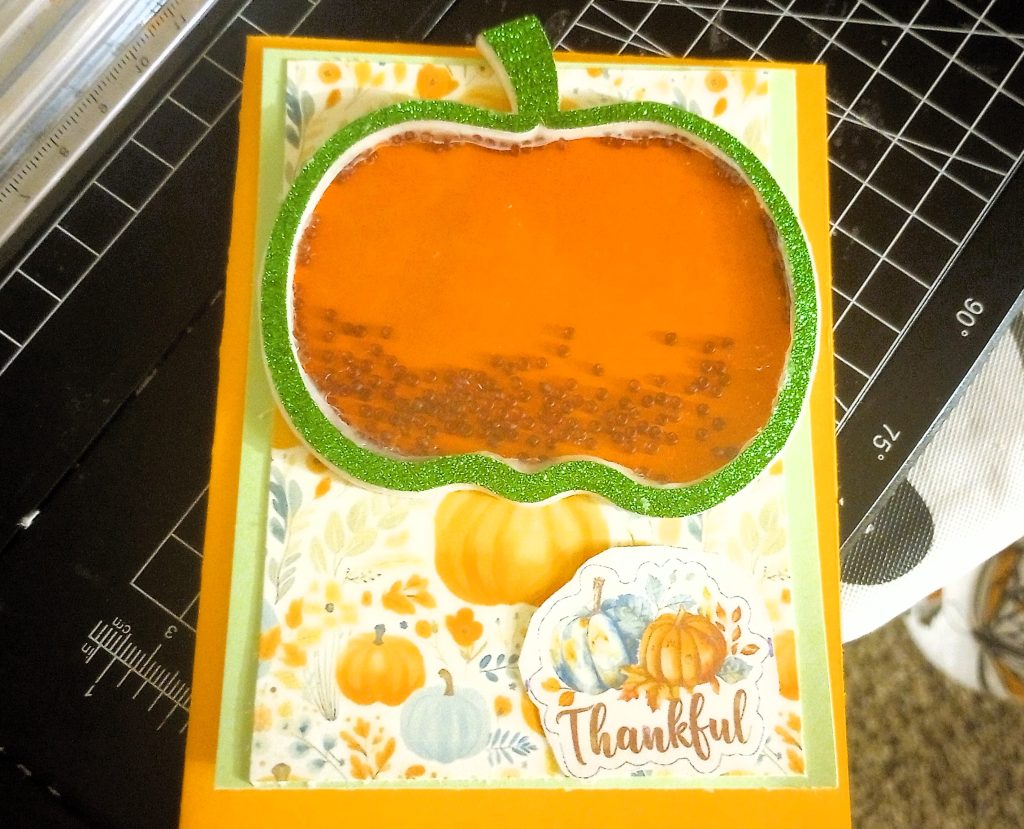
I made a fall pumpkin shaker card. I used double-side foam tape to add it my card front.
Must-read related blog posts
21 Simple and Easy Fall Home Decor Craft Ideas
How to Make a Fall Door Hanger with Your Cricut
Fall Printable Preschool and Kindergarten Worksheets
Free Fall is My Favorite F-Word SVG File
Conclusion
I hope you enjoyed this tutorial on how to make your own pumpkin shaker with your Cricut machine. You can make a card with it or a shaker gift tag. Use it to make a Halloween card or birthday card.
Make it bigger and turn it into a pumpkin shaker cake topper!
Recent Comments