
Libbey glass cans are very popular right now in the crafting world. I can see why. It’s because people can make personalized 16 oz glass can wraps. It’s fun to decorate your glass can. There are so many different types of glass can wrap SVG files.
They even make great Christmas gifts! So if you’re looking for a Cricut Christmas gift idea then you’re in the right place.
While I do like using permanent vinyl, it has its limits. If you want to do something more intricate you have to layer. So I discovered another method to making libbey glass can wraps, printable vinyl!
However, I had a hard time finding a good tutorial on the topic. So I did the hard work for you and figured out the steps for myself. If you want to learn how to use printable vinyl to make a glass can wrap with your Cricut keep reading!
*Affiliate Disclosure: This post may contain affiliate links, which means I may receive a commission, at no extra cost to you, if you make a purchase through a link. Please see my full disclosure for further information.
*Amazon Affiliate Disclosure: I am a participant in the Amazon Services LLC Associates Program, an affiliate advertising program designed to provide a means for me to earn fees by linking to Amazon.com and affiliated sites.

What size is a Libbey Glass Can?
The Libbey glass can come in 3 different sizes. It comes in 16 oz, 20 oz and 24 oz size.
What size is a 16 oz Glass Can Wrap Size?
A Libbey glass can wrap size is 9.4 inches wide by 4.3 inches in height. The width is the circumference around the cup. Don’t go by the width of the lid or the top of the glass can.
Materials
- Libbey Glass Can
- Printable Vinyl
- Transfer tape
- Christmas SVG File
- Rubbing Alcohol
- Printer
- Weeding Tool
- Scissors
- Parchment paper
- TeckWrap Burnisher
- Light Grip Mat
- Cricut or Silhouette Machine
- Laminate sheets
Related post: Free Christmas SVG file!
Step 1: Upload your SVG or PNG file into your Cricut machine
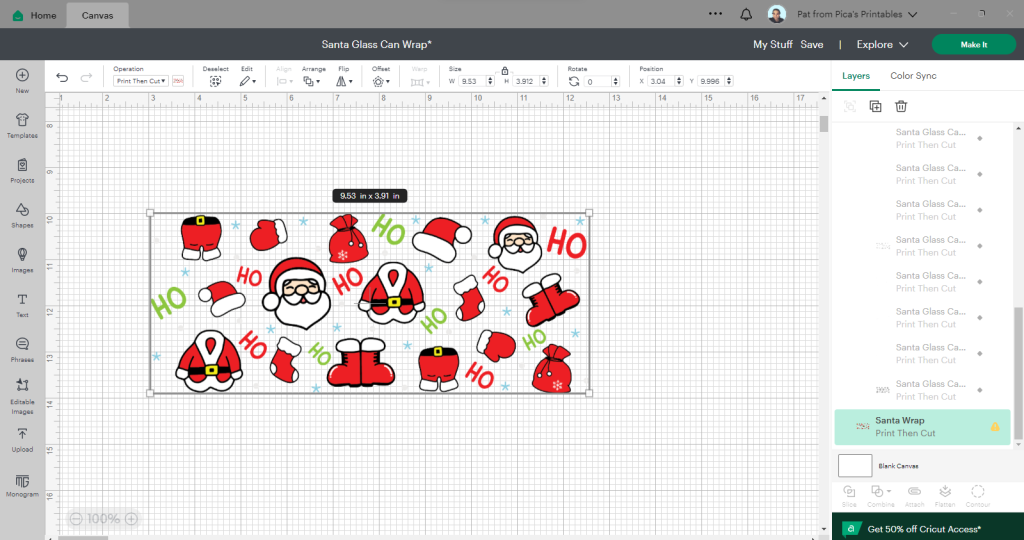
Now with the method I am going to show you, we’re using the print then cut. The SVG file I am using comes with both SVG and PNG files. I used the PNG file. But you can use the SVG file and flatten it.
The only thing we need to do here is make sure it’s the right size for our glass can. I am using a 20 oz can. So I had to make the wrap bigger to fit around it. I used my measuring tape to measure my glass can.
Once your size is correct make it.
Step 2: Print your design
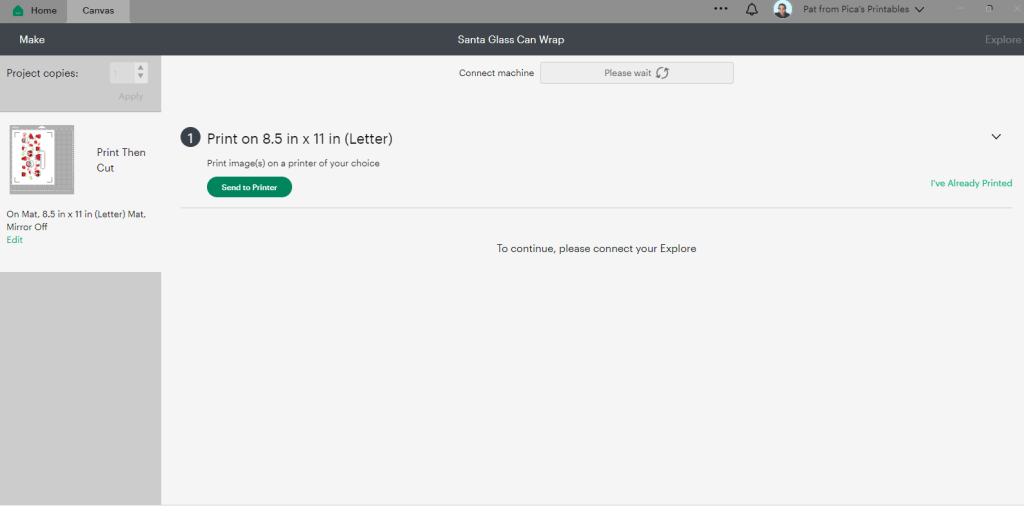
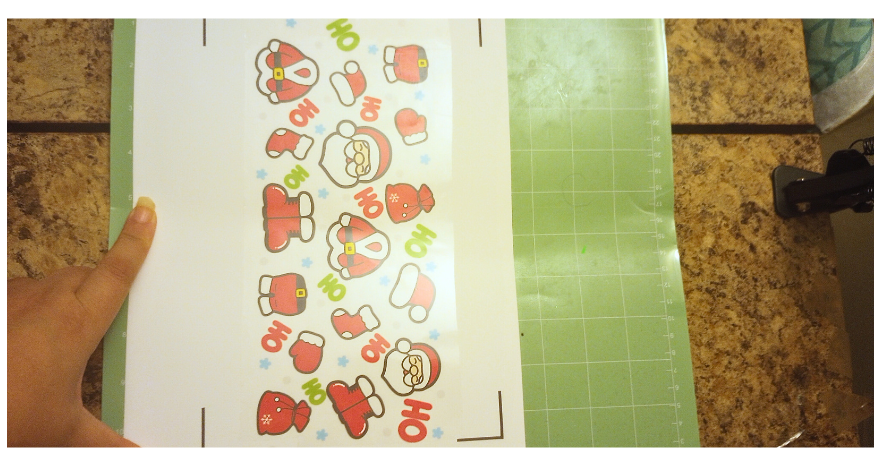
Once you hit make it, send your cup wrap design to your printer. For my printer settings, I left the bleed on and selected a photo glossy paper setting. I use my printer dialogue.
Make sure it prints on the side of the printable vinyl not the backing of the printable vinyl.
Once your settings are correct print it. Make sure that the registration marks also print or it won’t cut.
Step 3: Add a layer of laminate
Once it prints then add a layer of self-adhesive laminate. The laminate helps to make it more water-resistant. First, cut down the laminate sheet to the size of your glass can wrap. Make sure the laminate doesn’t go over the registration marks. With the explore machines it’s hard to read them.
If you do accidentally do this use matte tape and put it around the registration marks. It will fix the problem.
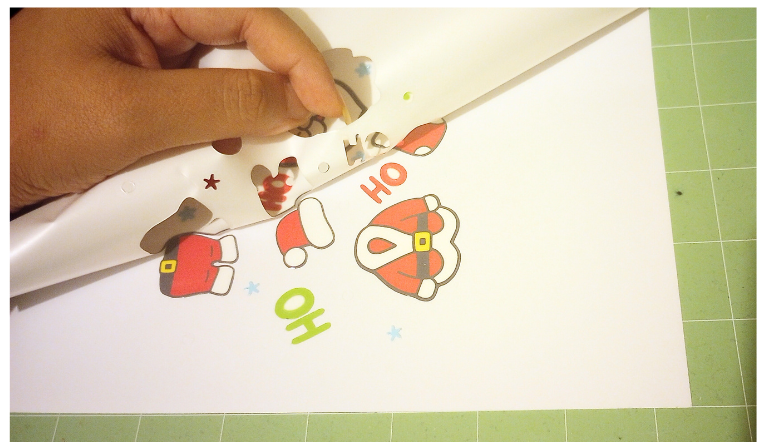
Once the laminate is cut to size I recommend using the method I show in the picture below.
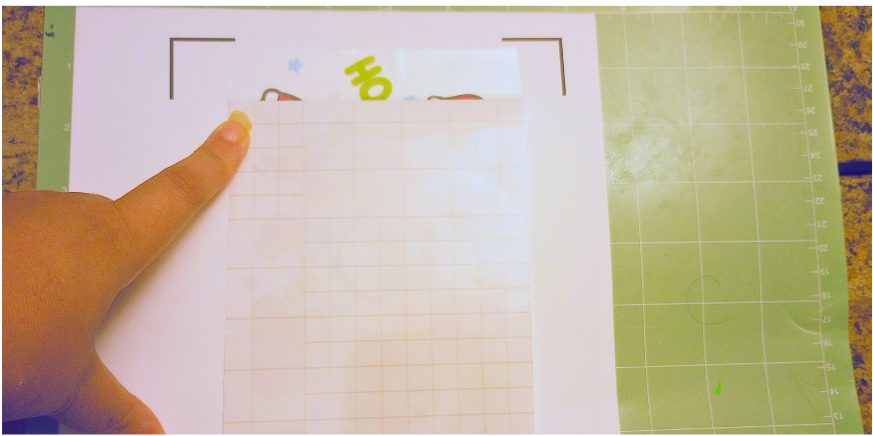
You’re going to cut a strip of the backing off at the top. Then lay down that piece of it over your wrap.
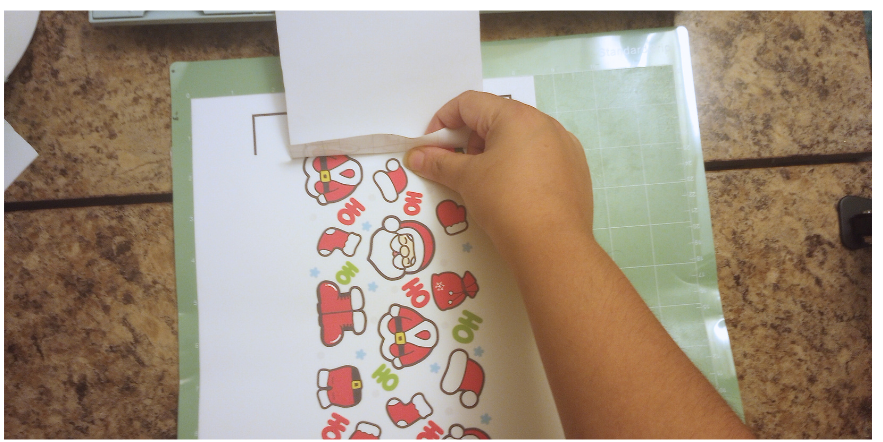
Then take the rest of the backing off slowly. This is the best method for laying down laminate. Now it’s time to cut it.
Step 4: Cut out the Glass Can Wrap
The goal is to get a kiss cut for this glass can wrap. We don’t want each element of the wrap to get cut all the way through like a die-cut sticker. We want it cut like a sticker sheet.
The settings I used for my machine, which is a Cricut Explore Air 2, is photo paper with the fine point blade on more pressure. We only want the different elements of the wrap cut out at the top. We don’t want each part of the wrap to cut all the way through to the mat.
We also want to be able to easily peel off the excess vinyl and laminate. You might have to play around with the settings until you find the right one.
Once it’s cut you’ll need to weed the excess off.
Step 5: Weed off the excess
For the glass can wrap I am using I found that weeding off the excess little by little gave the best result. So I would cut off each piece of excess printable vinyl as I went along.
For the smaller words like Ho Ho Ho and the stars, I had to be careful. They would easily come off the vinyl backing paper. Then because I had the bleed on, I had to weed out the middle of all the letter O’s.
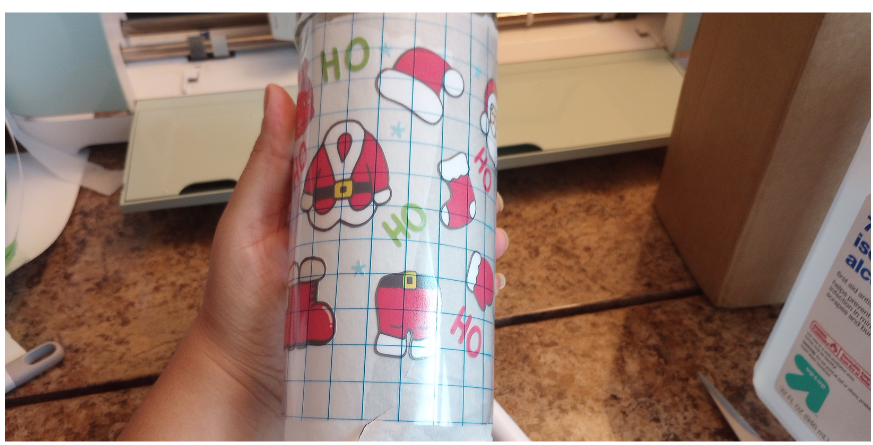
Once you have weeded off the excess the next step is to use transfer tape. Cut out the transfer tape the size of your wrap.
Then use the taco method to apply your transfer tape.

Step 6: Apply the wrap to the Glass Can
This is where the parchment paper comes in. You’re going to cut out a piece the same size as the glass can wrap. Here’s the steps:
- Cut out a piece of transfer tape the same size as the glass can wrap
- Cut out a piece of parchment paper the same size as the glass can wrap
- Apply the transfer tape using the taco method. Then burnish it down.
- Once the transfer tape is applied to the wrap flip the wrap over
- Remove the backing of your glass can wrap
- Add the parchment paper to the back of the wrap instead
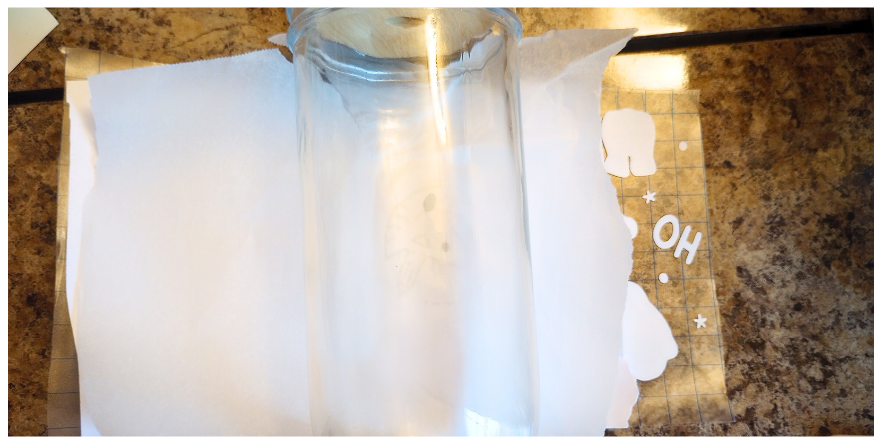
Then wrap the design around the cup with the parchment paper still used as the backing. Don’t remove it until you’re satisfied with the placement.
Then peel off half an inch of the parchment paper off the wrap and stick that part to the glass can. Then slowly peel off the rest of the parchment paper.
Now you can just use your hand to hold the cup. Or use a Tumbler holder to hold the glass as you peel off the paper. Or use the teckwrap burnisher. It has two lines that are perfect for holding cups.
Use whatever method makes sense to you that will help you peel off the parchment paper.
What I did was once I had the wrap as I wanted it. I put it on my teckwrap burnisher facing down.
Then I had the ends of the wrap facing me. Then I peeled off half an inch on one side.

Then when I placed half an inch of the wrap on the glass can I slowly peeled off the rest.
Now you can use washi tape or painter’s tape to tape the ends of the wrap with the parchment paper on it. This way you don’t mess up the placement when you put the glass can down.
Then remove the tape as you remove the parchment paper.

Now you’re done!
Related Posts
How to Make Waterproof Vinyl Stickers
How to Make a Fall Diy Door Sign
Easy DIY Cricut Canvas Tote Bag with Color-Changing Vinyl
10 Easy DIY Last Minute Christmas Gift Ideas
Free Printable Christmas Gift Card Holders
Conclusion
I love using printable vinyl to make glass can wraps! I think it’s so much easier than layering vinyl. I think it allows us to use all kinds of designs without worrying about layering. I like being able to use more intricate designs and not just basic designs.
This also makes a great Christmas gift!
Let me know what you think in the comments below!
[…] You can use it to make all kinds of Christmas craft projects! […]