I love tote bags! Whenever I travel somewhere my first go-to souvenir is to get a tote bag from a local gift shop. I use them whenever I go to the beach, and when I travel. They just have so many uses. You can use them for your child’s weekly extracurricular activities too. They make great gifts as well.
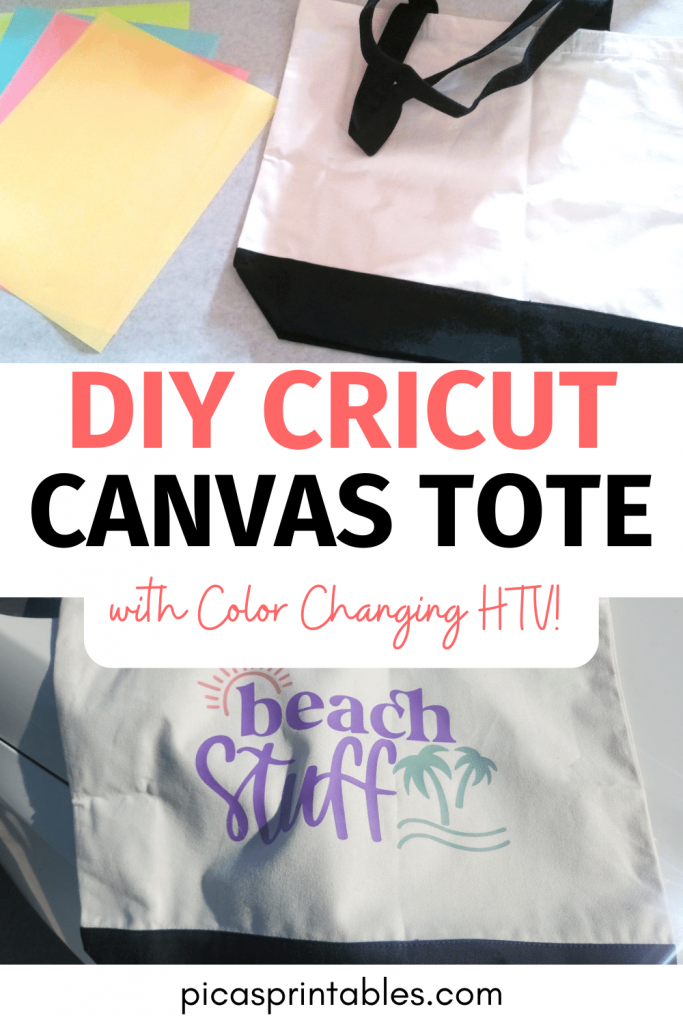
When I was trying to figure out what to get my mom for her birthday, I decided to make her a personalized Cricut beach tote bag. But I decided to make it using color-changing HTV. If you would like to know how to make your own DIY Cricut canvas tote bag with color-changing HTV keep reading!
*Amazon affiliate disclosure: I am a participant in the Amazon Services LLC Associates Program, an affiliate advertising program designed to provide a means for me to earn fees by linking to Amazon.com and affiliated sites.
*Affiliate Disclosure: This post may contain affiliate links, which means I may receive a commission, at no extra cost to you, if you make a purchase through a link. Please see my full disclosure for further information.

DIY Cricut Canvas Tote Bag
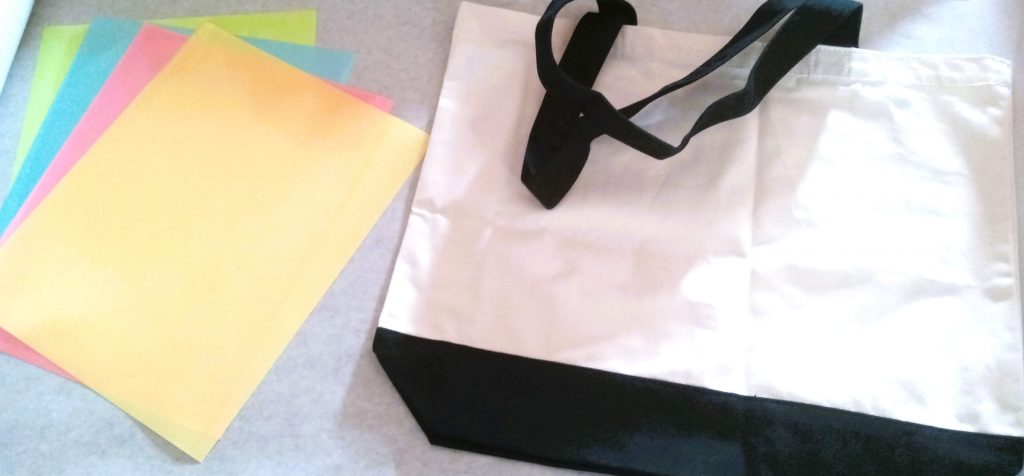
Materials and Tools for your Diy Cricut Canvas Tote Bag
Cricut Maker 3, Cricut Explore Air 2, or any Cutting Machine
Teflon Sheet or Parchment Paper
Cricut Easy Press 2, Cricut Easy Press 3, Heat Press or Iron
Color Changing HTV (what I used), Craftables brand color changing vinyl, or regular HTV
Step One: Prepare Your SVG File

First, you’re going to download the file, unzip it, and upload it into Cricut Design Space. The size of the design can only be as big as your HTV. Check the dimensions of the HTV first before sizing and cutting.
If you’re using the same SVG file I did, this SVG is grouped together. I ungrouped it because I wanted to use different color HTV for different parts. I grouped the palm trees and waves together. Then I grouped the beach stuff phrase together. Then I grouped the parts of the sun together.
This way they would cut according to the colors I wanted. Of course, you don’t have to do it this way. You can leave it grouped as it is if you want to use just one color HTV.
Once you’re happy with the size and have it grouped how you want click make it.
Related: Cricut DIY Trick or Treat Bags
Step Two: Cut Your SVG File
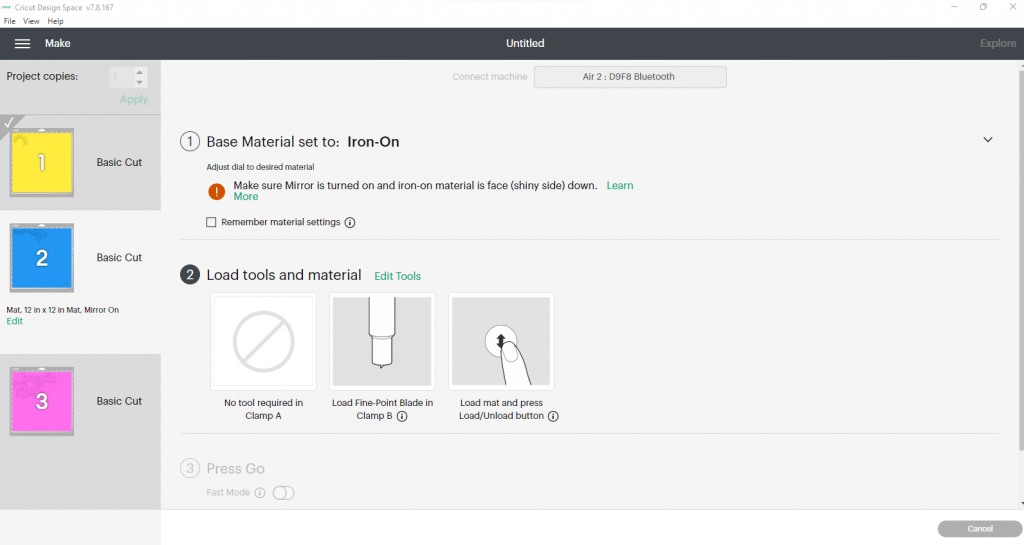
Next turn on your Cricut machine. If you have a Cricut Explore Air 2 set your dial to iron on. If not, you can set your material setting in Cricut design space.
This is the most important part. Do not forget to mirror your design. I still forget to do this. But Cricut design space reminds you to do so. Which I really like.
I used my Cricut standard grip mat. But you can use the light grip mat as well. If you’re using the same color changing HTV I am then put it color side down on the mat.
Then press the arrow and Cricut button on your machine when prompted.
Step 3: Weed Your HTV
Once your HTV is done cutting, pull it off the mat. Now it’s time to weed your design. I think weeding HTV is easier because I don’t have to use transfer tape. If you don’t know what weeding means I’ll explain. It means to pull off the excess HTV from your design.
What I do is I start from a corner of the vinyl and pull away. You can use any weeding tool you want. It’s just a matter of preference. When your design is big sometimes it’s helpful to cut off the excess vinyl as it’s being pulled.
Step 4: Iron on Your Design

Now it’s time to press your HTV to the tote bag. I used my Cricut Easy Press 2 the 12×10. But you can use a heat press, iron, or the new Easy Press.
I used to use an iron before I got my easy press. It works just fine. I’ve also used a heat press. They all work to press HTV or iron on. It’s just a matter of personal preference.
First, press your tote bag for a few seconds before adding the HTV. The reason is that you get out wrinkles and excess water. Then add your HTV design.
Next, add a Teflon sheet or parchment paper on top of your HTV design. I used parchment paper for this. The HTV I used didn’t come with instructions.
So, I set my easy press to 340 degrees and set the time to 30 seconds. I used the Cricut heart guide to get these settings. I selected cotton canvas as my material. I selected everyday iron-on as my material even though I used a different brand. I also pressed the back of it too. I waited for it to cool before peeling off the top.
Peel it off carefully. If you see any part of it coming off with the plastic sheet (change to correct name) press it again for like 15 seconds.
Step 5: Enjoy Your DIY Cricut Canvas Tote Bag

Now you have a personalized beach tote bag. The colors won’t change when you are indoors. I tested it. It only changes when the tote bag is in the sun. This is what it looks like in the sun.
I love it! I’m going to use this color-changing HTV a lot this summer.
Must Read Related Posts!
10 Best Craft Subscription Boxes for Crafty Moms
How to Make Waterproof Stickers with your Cricut
Free Christmas SVG File for Your Cricut
Diy Trick or Treat Tote Bags with Your Cricut
How to make a Round Wood Sign with your Cricut
Conclusion
Now you know how to make your own DIY Cricut canvas tote bag with color-changing HTV. You can make custom Cricut Canvas Beach Tote Bags for all of your family and friends. They don’t have to be beach tote bags. You can make whatever kind you want.
I hope you enjoyed this Cricut Beach Tote Bag Tutorial!
What a fantastic tutorial! I’ve been wanting to try my hand at creating my own custom tote bags, and your step-by-step guide has given me the confidence to give it a go. The detailed instructions, along with the helpful tips and tricks you shared, make this project seem not only enjoyable but also achievable for beginners like me. I can’t wait to personalize my own canvas tote bags and stand out from the crowd. Thanks for sharing such a wonderful DIY! Warmest regards, Martin Williamson
Thank you so much for the compliment! There are lots of ways to make your own custom tote bags. You can even use fabric markers!
Hey there! I just came across your DIY Cricut Canvas Tote Bag tutorial and I must say, it’s absolutely amazing! Your step-by-step instructions were so easy to follow and the end result looks professional and stylish. I can’t wait to try this project myself and showcase my creative side. Thank you so much for sharing such a wonderful and practical idea. Keep up the fantastic work!
– Mathata
Thank you!
Sharon Williams: Wow, this DIY Cricut canvas tote bag tutorial is absolutely fantastic! I’ve been wanting to personalize my own tote bags for a while now, and this step-by-step guide makes it look so simple and fun. The detailed instructions and clear images really help beginners like me understand the process easily. I can’t wait to give it a try and create unique custom designs for myself and my friends. Thank you for sharing this amazing tutorial!
You’re totally welcome! Glad I could help!