I’m super excited to share with you how to use Siser EasyColor DTV with Cricut. I love making t-shirts. But if you want to use detailed colorful designs, it seemed like sublimation was the route to go.
Because with vinyl you would have to layer. Plus vinyl isn’t cheap. When I found out about about this new printable HTV from Siser I just had to try it.
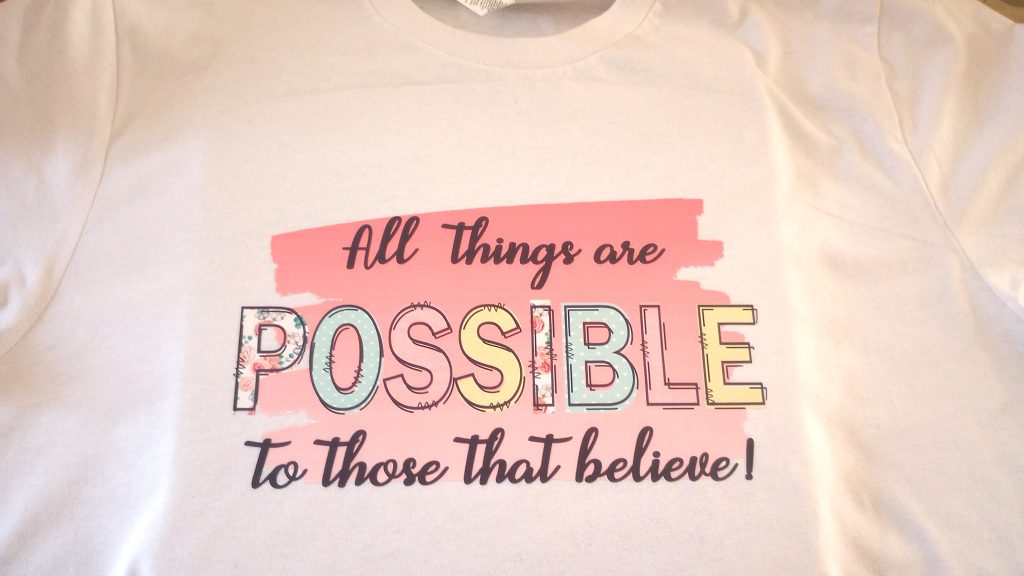
I feel like Siser EasyColor DTV is the best sublimation alternative out there. I am very happy with the results. In this tutorial I show how to use it with your Cricut!
*Affiliate Disclosure: This post may contain affiliate links, which means I may receive a commission, at no extra cost to you, if you make a purchase through a link. Please see my full disclosure for further information.
*Amazon Affiliate Disclosure: I am a participant in the Amazon Services LLC Associates Program, an affiliate advertising program designed to provide a means for me to earn fees by linking to Amazon.com and affiliated sites.
Materials:
- Siser Easy Color DTV
- Siser Easy Mask
- Printer
- Cricut Machine
- Light or Standard Grip Mat
- Weeding Tool
- Brayer or Scraper
- T-shirt
- Easy Press, Iron, or HeatPress
- Teflon Sheet or Parchment paper
- Sublimation/PNG Design

What is Siser EasyColor DTV?
Siser EasyColor DTV is a printable heat transfer vinyl. What’s different about it compared to others is that the quality is better. It lasts longer than 10 wash cycles.
It’s a thin stretchy material. It’s very delicate. Meaning when weeding it’s easy to tear. So you need to be careful before pressing it.
The main thing is that it can work with a basic inkjet printer. It cuts like vinyl.
What type of printer do you need?
All you need is an inkjet printer. I use a Canon Pixma printer myself. But any inkjet printer will work. You don’t need laser jet or sublimation printer.
What types of blanks can you use?
Siser EasyColor DTV isn’t sublimation./. It’s similar to printable HTV. You can put it on any cloth-like material. It can be cotton, polyester, cotton/poly blend, etc. If the blank can be put under a heat press, iron, or easy press then you can use it.
You can use it on light and dark fabrics. If you aren’t sure if it will work on a certain material just test it.
Does Siser Easy Color DTV work with Cricut?
Yes, it works with any Cricut Maker, Cricut Explore, or any cutting machine that takes US letter-size material.
How Long Does Siser EasyColor DTV Last?
According to Siser, this material lasts between 20-25 wash cycles.
How to use Siser EasyColor DTV with Cricut to make a T-shirt
Step 1: Upload your design into Cricut Design Space
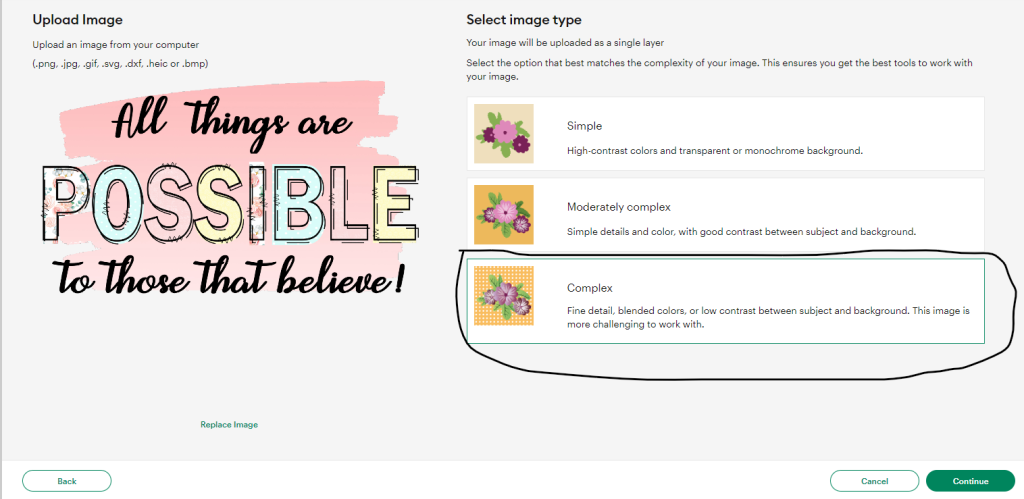
When you’re uploading a PNG or JPG file into Cricut Design Space select complex. Then hit continue.
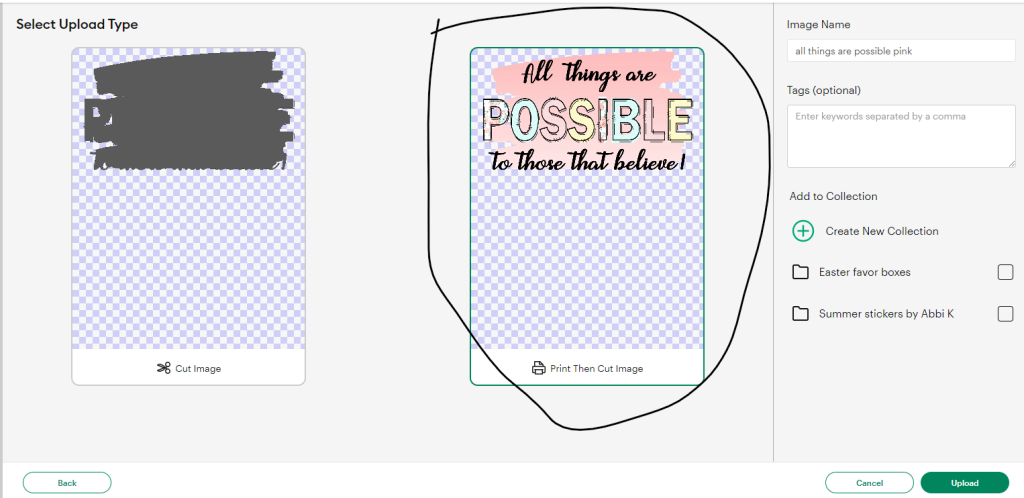
Then select print then cut image. You can rename your file and add tags if you want. I always add tags because it makes it easier for me to find them later.
Then hit upload.
Step 2: Convert your design to print then cut if you’re using an SVG file
If you’re using an SVG file you need to convert it to a print and then cut. You can do this by flattening your design. The reason is that in order to use Siser EasyColor DTV you have to print the design first.
If you’re using a PNG file you don’t need to do this step.
Step 3: Size your design to fit Siser EasyColor DTV sheet
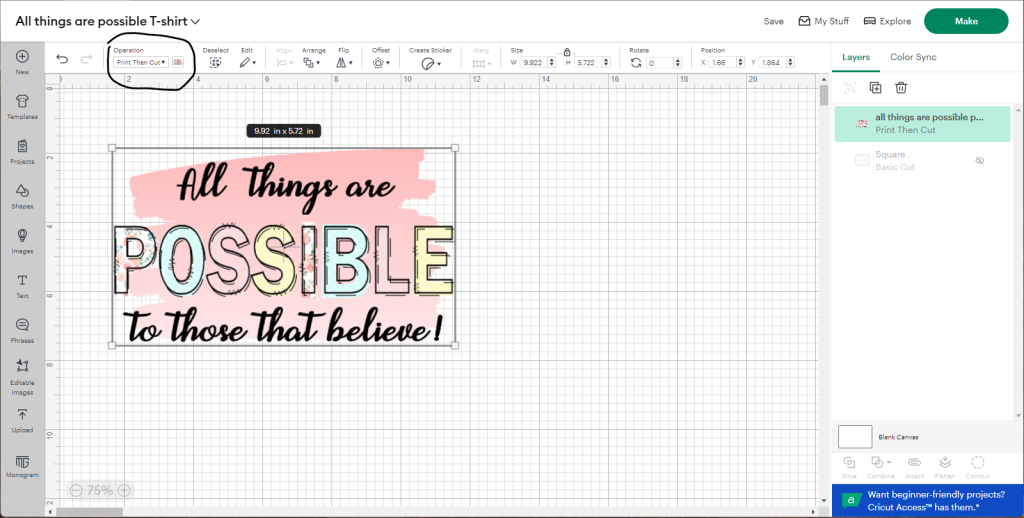
Siser EasyColor DTV comes in US Letter size. I am not sure if it comes in bigger sizes. But with the US letter size your design needs to fit the page.
If it goes beyond Cricut Design Space’s dimensions it’ll let you know. If you want your design to print bigger then you’ll have to break it up.
Then print different sections of your design onto multiple sheets. Once you have your design sized correctly you can hit make it.
For my design, I am just printing it onto 1 sheet.
Step 4: Print your design and select material
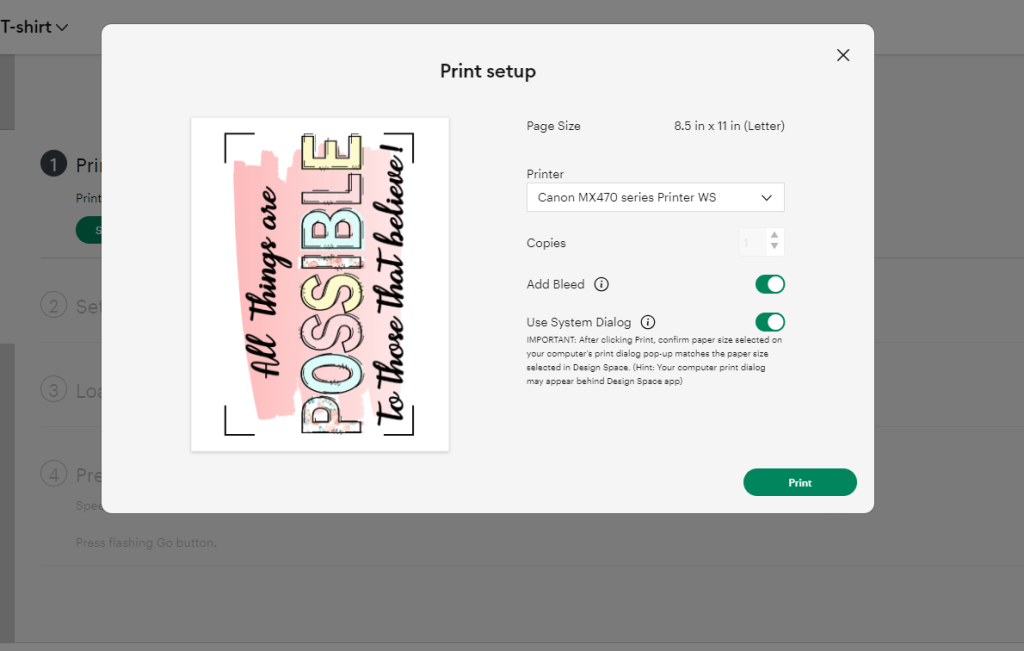
Now you’re going to select send to printer. I always use my printer’s dialog box. I use photo glossy paper for my printer so that it prints well. I use a Canon Pixma MX472.
I played around with the bleed option. I selected bleed when I printed it the first time. I then turned off bleed the second time.
I wanted to see which version would turn out better. So you might have to play around with bleed to see if you like it or not.
Once you send it to the printer then select your material.
For the material select printable iron-on light.

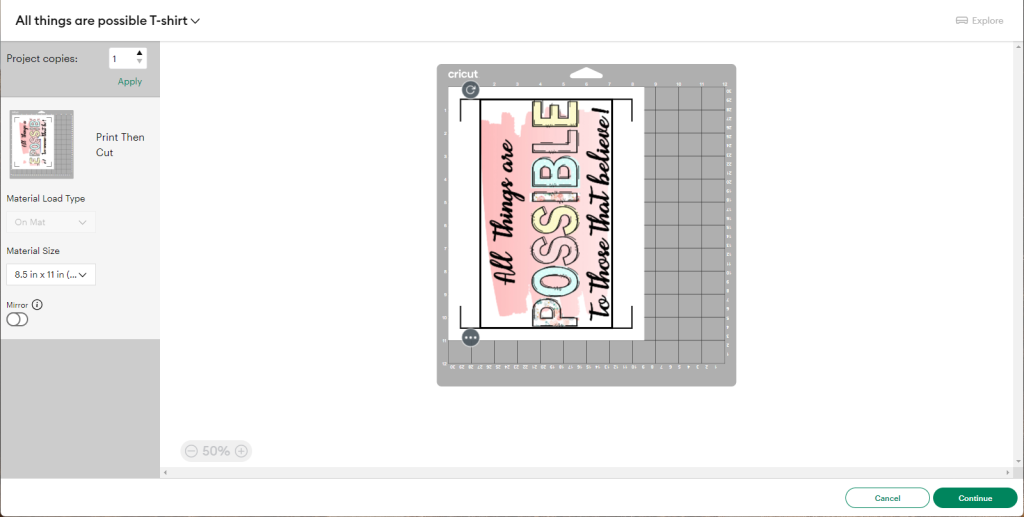
You do not need to mirror Siser EasyColor DTV.
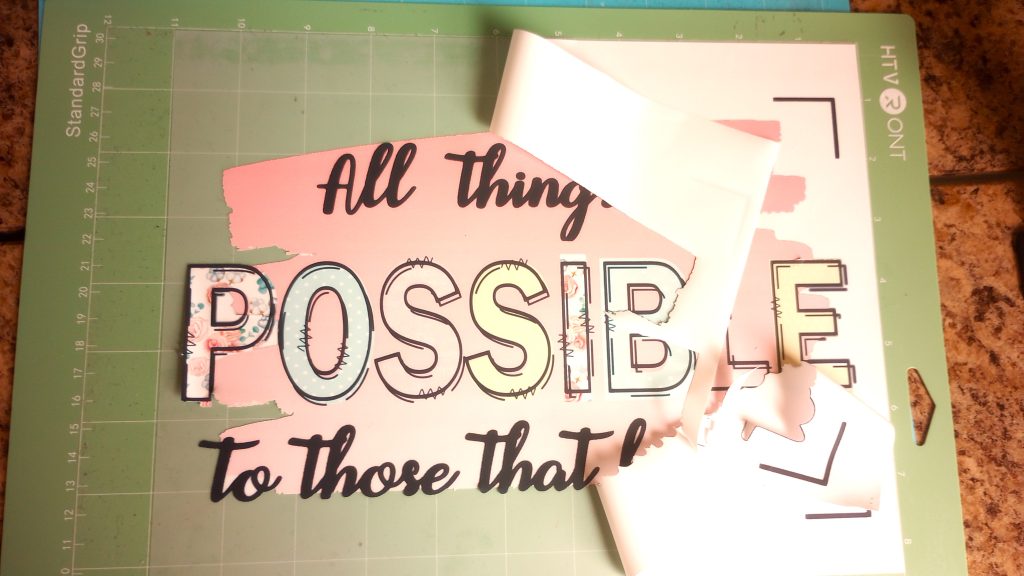
Step 5: Cut the Siser EasyColor DTV sheet and weed the excess
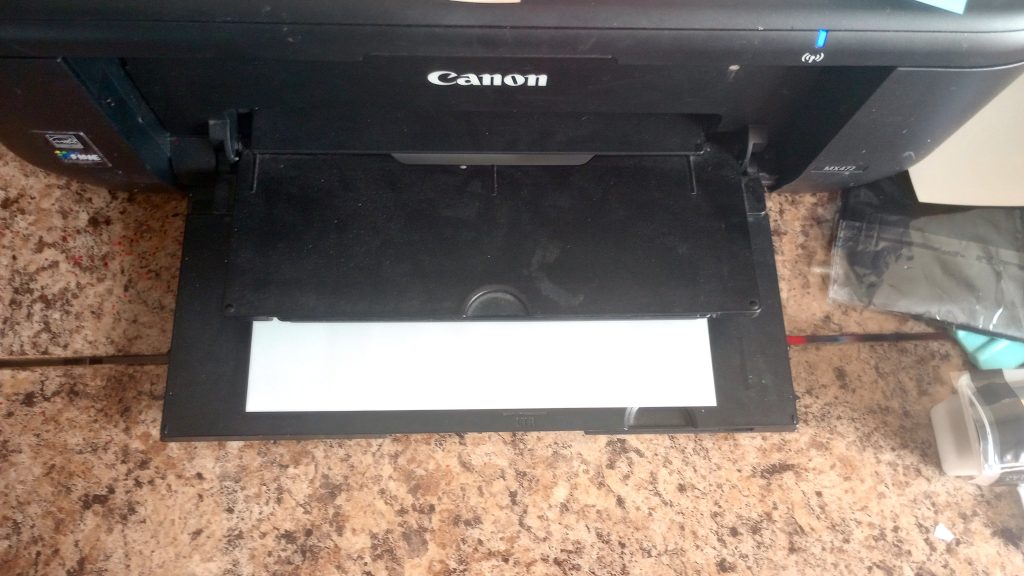
Make sure that the Siser EasyColor DTV prints on the white side of the sheet. The greyish side is the backing sheet.
Once your printer has printed it out then you would put the Siser Easycolor DTV on your cricut mat.
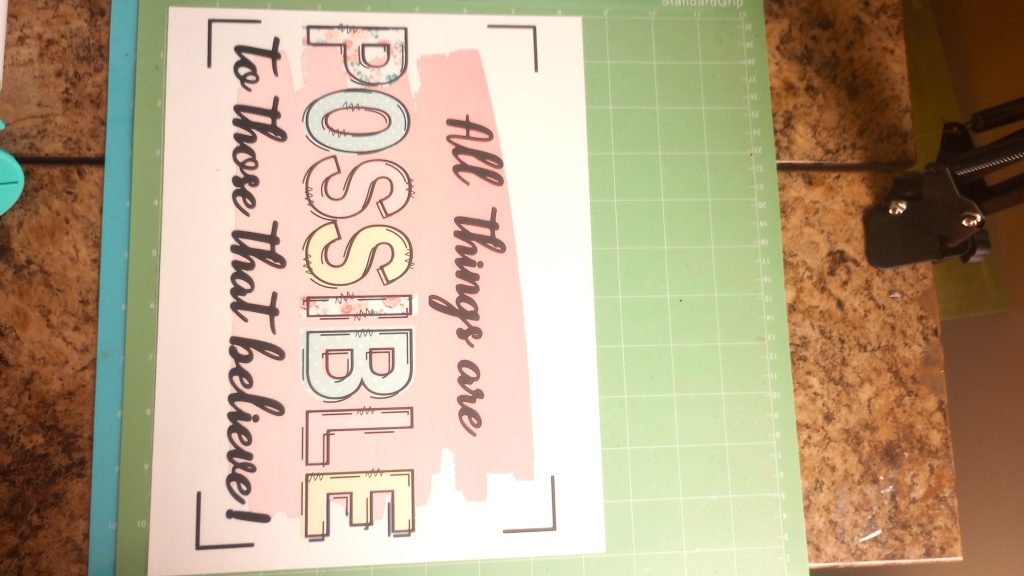
Then hit the arrow button to feed the mat into your machine and hit the button on your machine that’s blinking so it can cut.

Once your Cricut machine is done you can remove the mat and take the sheet off of the mat. Then weed off the excess from your design. Be careful when weeding. This material is thin. So you can easily tear it.
Bleed vs No Bleed
Remember how I printed out two copies of my design? I printed one with the bleed and one without. For me, I preferred the one without the bleed.
The bleed version added bleed to the words that weren’t getting cut. Therefore it made those parts look blurry. I didn’t like that.

The one without bleed didn’t do that. So I choose this one.

Step 6: How to use the Siser Easy Mask
The Siser Easy Mask is similar to vinyl transfer tape. In order to transfer it to your shirt, especially if it’s in multiple pieces, you’ll need the Siser Easy Mask.
But it’s also a protective mask for the heat process. All you’ll need to do is:
- Cut it to the size of your design
- Burnish it onto your design
- Peel off the grey backing when placing it on your t-shirt
If your design is in one piece like mine you don’t have to use it to transfer it to your t-shirt. But you can still use it to protect your design.
My design is in one piece so I didn’t use it.
If you feel like the EasyMask isn’t tacky enough you can try using heat transfer tape to keep your design in place.
Step 7: Get your t-shirt ready for pressing
This step is about preparation. You have to get your heat source ready. If you have a heat press set it to the right settings, Same thing for an iron and easy press.
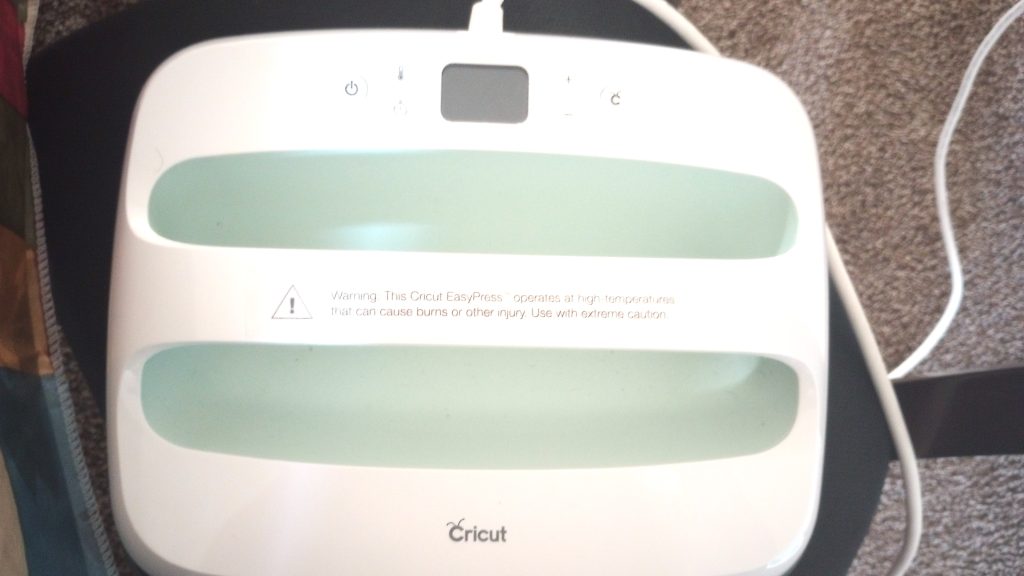
I have a Cricut EasyPress 2. I have the 12×10.
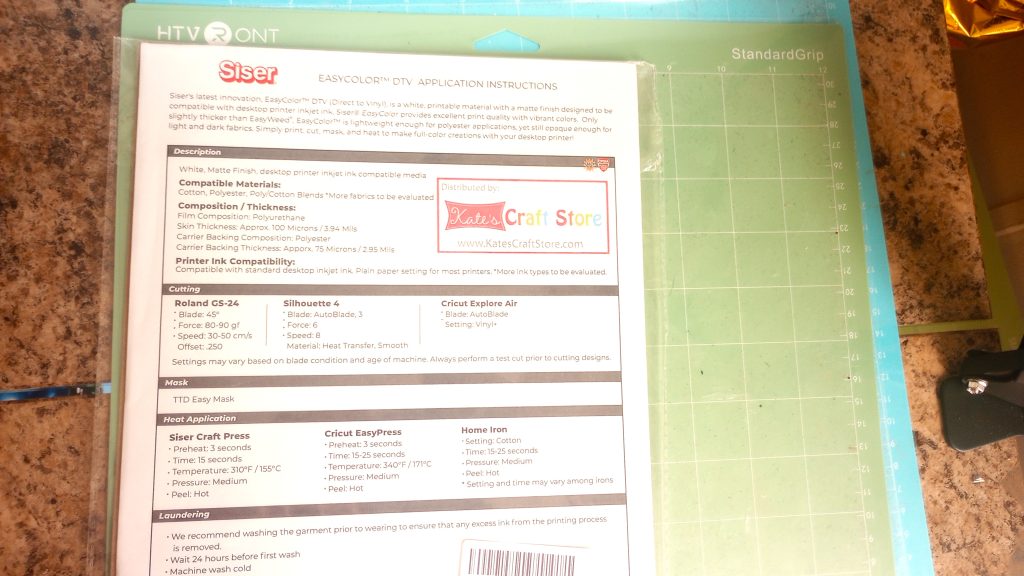
The Siser EasyColor DTV packet I bought from Amazon comes with Siser EasyColor DTV instructions. It tells you what settings to use for different heat sources.
Once your heat source is ready press your t-shirt first without the design. This is so that any excess moisture gets out. Plus it helps get out any wrinkles.
Make sure your design is placed where you want it to be on your t-shirt before pressing. Now to protect your design you can use the Siser Easy mask, tefflon sheet, parchment paper, or the grey backing paper from the Siser EasyColor DTV sheet.
For me I used the grey backing paper from the Siser EasyColor DTV sheet.
Step 7: Press your design
Now your design is ready to be pressed. For this step, I used my easy press 2 the 12×10. It covers the whole design so I didn’t have to press it in sections.
I set my Cricut EasyPress 2 to 340 degress at 20 seconds.
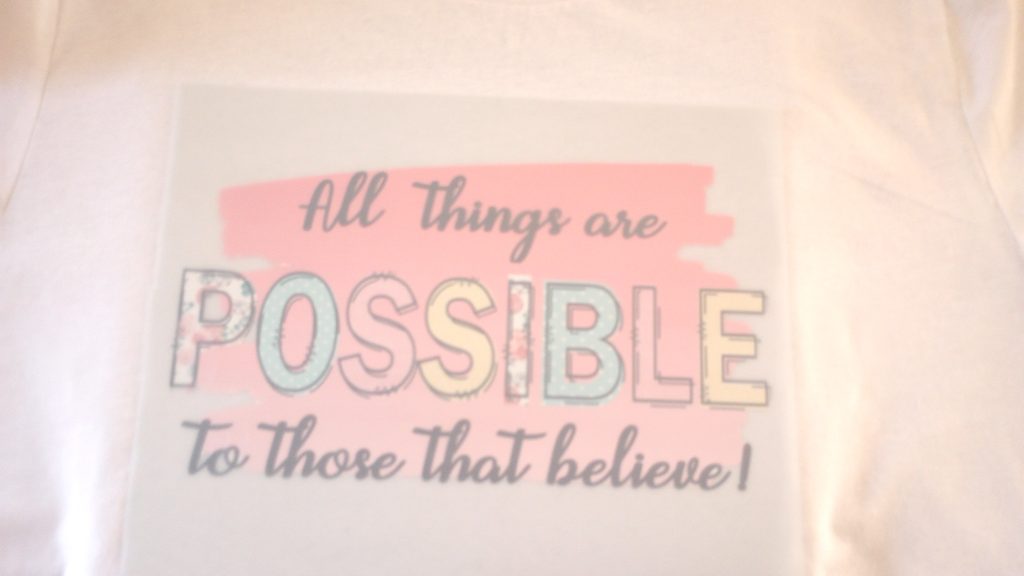
Once pressed, you can peel off the protective sheet you used. With Siser EasyColor DTV you can peel it off hot.
Just to warn you that when you do use the EasyMask it will give your design a glossy finish. If you want a matte finish you can use tefflon, parchment paper or the grey backing paper like I did.
Must-read related blog posts
How to Make a Libby Glass Can Wrap with Your Cricut
How to Make Waterproof Stickers with your Cricut
How to Make a Halloween Tote bag with your Cricut
How to Make a Fall DIY Door Hanger with Cricut
Conclusion
I hope my tutorial showed you how to use Siser EasyColor DTV with your Cricut. Personally I absolutely love this new material. I’ve been looking for a good sublimation alternative for a while.
I love that I can use it with my inkjet printer. I don’t need any specialty type printers or equipment. I’ll be using this material a lot.
Let me know what you think in the comments below!
Recent Comments