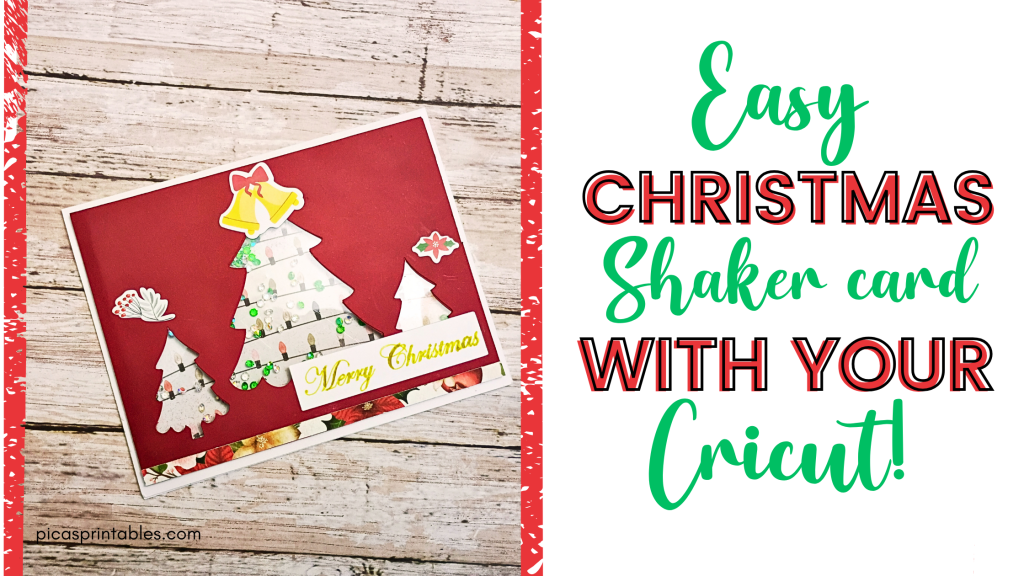
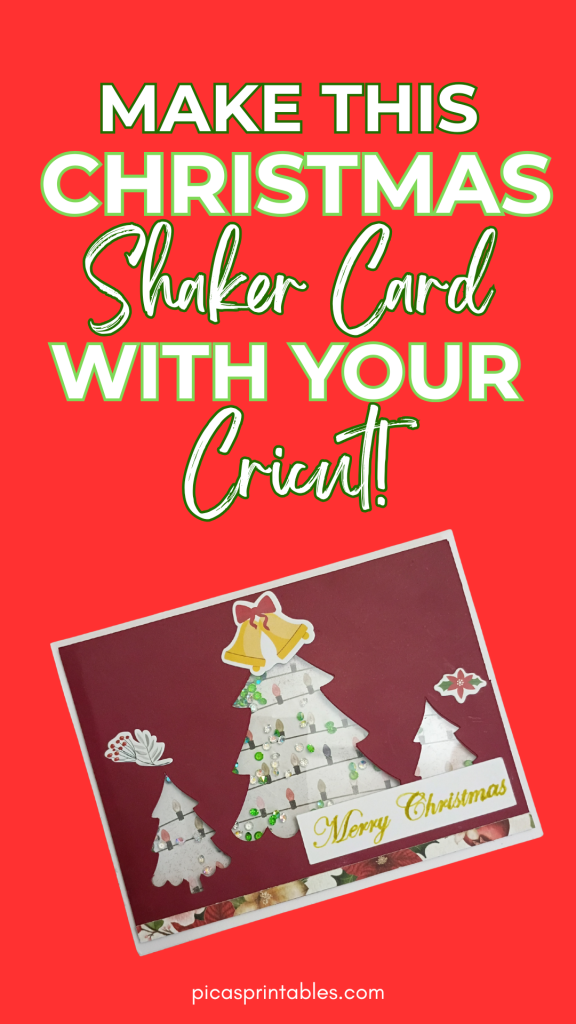
One of my favorite Christmas crafts is making Christmas cards! I love using my Cricut machine to make all kinds of them. I wanted to show you how to make your own Cricut Christmas shaker card easily!
It’s not as complicated as it seems. You won’t need a lot of materials either. This Christmas shaker card will brighten someone’s holiday!
Affiliate Disclosure: This post may contain affiliate links, which means I may receive a commission, at no extra cost to you, if you make a purchase through a link. Please see my full disclosure for further information.
*Amazon Affiliate Disclosure: I am a participant in the Amazon Services LLC Associates Program, an affiliate advertising program designed to provide a means for me to earn fees by linking to Amazon.com and affiliated sites.
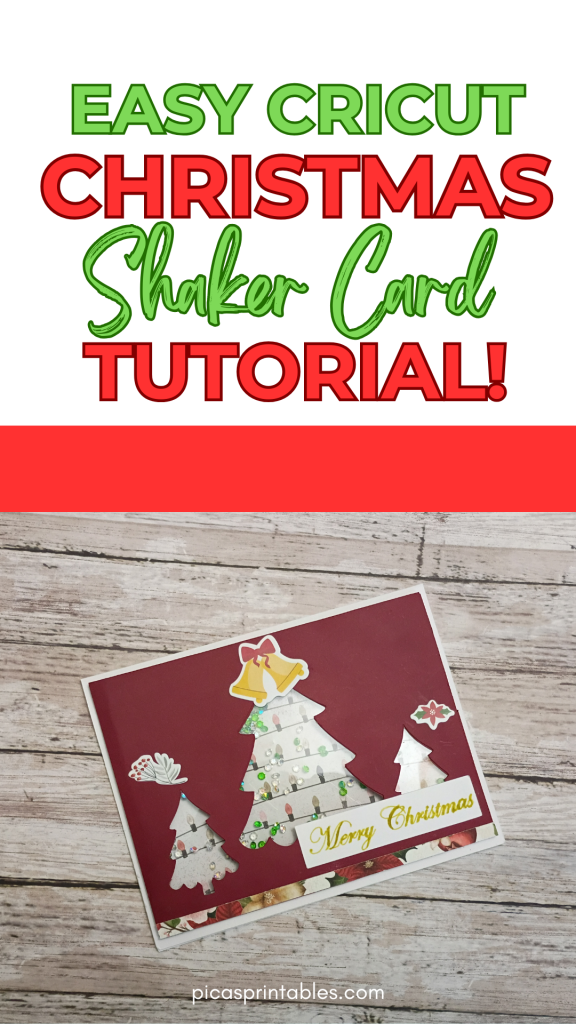
Cricut Christmas Shaker Card Supplies
Cricut cutting machine that can cut a2 or 5×7 size cards
Light grip or standard grip mat
Assorted cardstock: will need at least 2 sheets of cardstock. One for the base and one for the card front.
Cricut scoring stylus or scoring wheel
Brayer (optional)
Cricut pen or vinyl
Pattern paper or another piece of colored cardstock if you don’t have pattern paper
Get the Free Project Template!
You can the Cricut Christmas Shaker Card template for free! I created the file in Cricut Design space. I used only free elements so you won’t need Cricut access. All you have to do is click on the link. Then you can copy the project template to your Cricut design space account!
Cricut Christmas Shaker Card Template Instructions
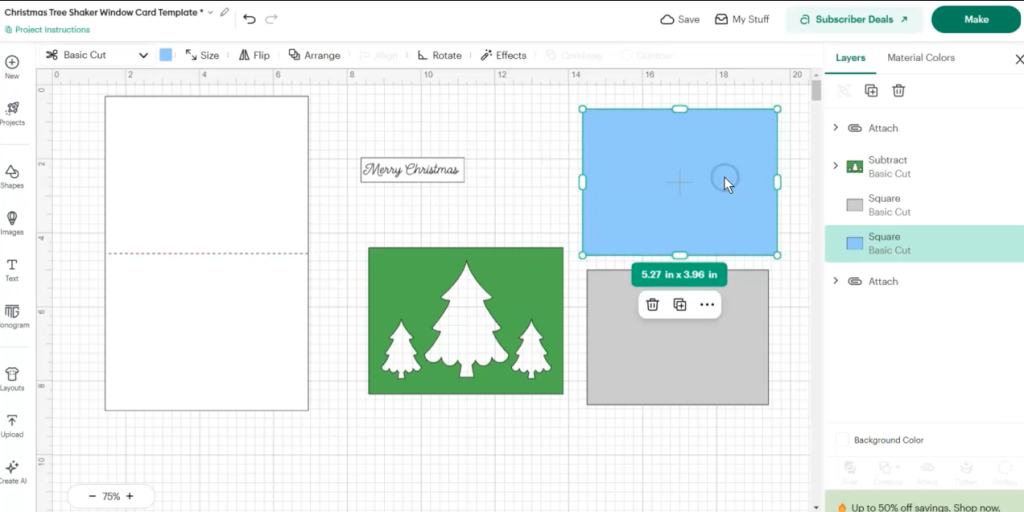
This Christmas shaker card includes the card base, card front, gray piece for the acetate, blue piece for the shaker background, and card sentiment. The card files are A2 size but you can resize everything to 5×7 size. The card base is already scored.
You won’t have to do anything here except change the colors of the different card pieces to whatever you want.
To change the card to 5×7 just group the card front, and blue shape together. Then click on size at the top. Then type in 10 in the width and 7 in the height.
The blue piece is for the pattern background. I just used blue as a placeholder color. If you don’t have pattern paper, just use another piece of colored cardstock.
Feel free to change the sentiment to whatever you want. I have the sentiment changed to pen because I used a pen to write it with my Cricut. But if you don’t want to do that change it to cut or print then cut.
If you plan on using pen then leave it as. Make sure it is attached to the shape you plan on using.
Once you are happy with everything click make it.
Cut the Materials for the Cricut Christmas Shaker Card
For this make screen make sure you set your Cricut machine to the right materials. Select cardstock for cardstock and acetate when you get ready to cut that piece.
Don’t forget to add your scoring stylus to clamp A if you have one of the Cricut Explore machines. Use your scoring wheel when prompted to if you have a Cricut Maker. Then switch to adding your pen to clamp A when it prompts you to do so.
Assemble the Cricut Christmas Shaker Card
Step 1) Adhere the acetate piece to the back of the card front panel
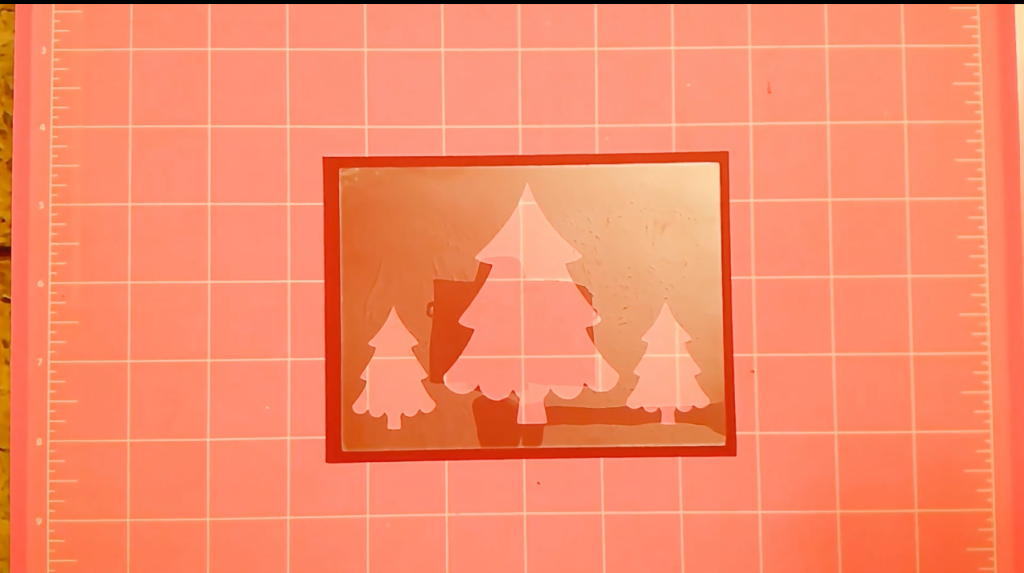
With the way I designed the card front panel, either side can be the front. To adhere the acetate piece, you can use glue or double-sided tape. I do recommend double-sided tape.
Glue and acetate don’t always work together. Sometimes when the glue dries the acetate can still come off. That’s because acetate doesn’t absorb it the way paper does.
But whatever adhesive you use, make sure you put it around the Christmas trees. You don’t want any glue to show through the tree windows.
Step 2) Add the Foam Tape Strips and add the shaker bits
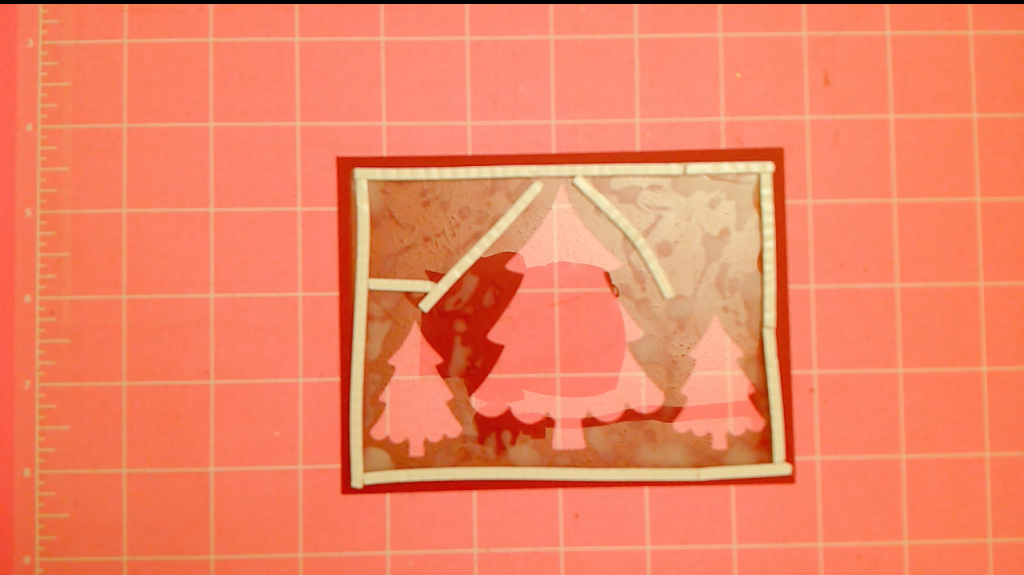
This part is super easy. All you’re going to do is add your foam tape around the edge of the acetate. Since it is in a rectangular shape, add the tape along the four sides. Make sure the tape edges meet.
You don’t want any gaps because you need the shaker bits to stay inside of the foam tape walls.
Now, for me, I took it a step further and added more around the tree windows. I want to make sure the shaker bits stay within the tree area.
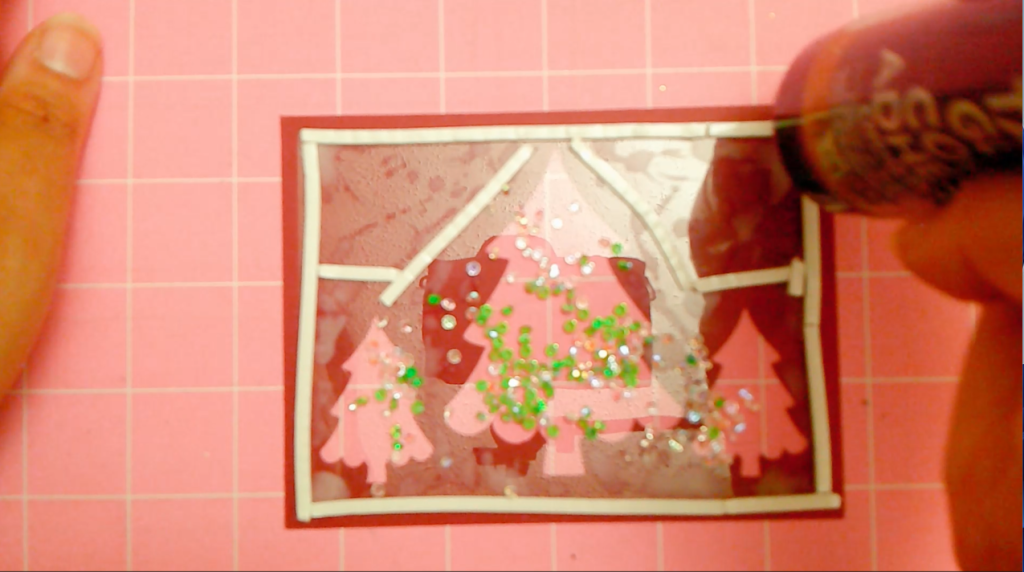
Once you’re done, add the shaker bits. Make sure that shaker bits fit into your foam well. You don’t want the shaker bits to be bigger than your foam well.
Step 3) Add the pattern background to the shaker card panel
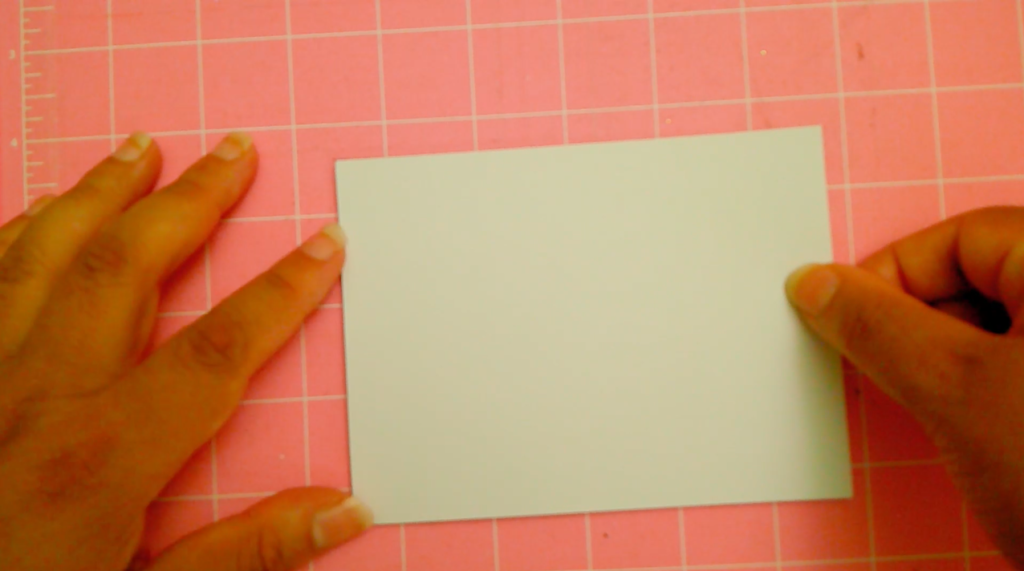
I sized the card background to fit the tree window panel exactly. This way you won’t have a hard time putting it on. What I did to make it easier on myself was add glue to the foam strips.
This gives me extra wiggle room to get the placement right.
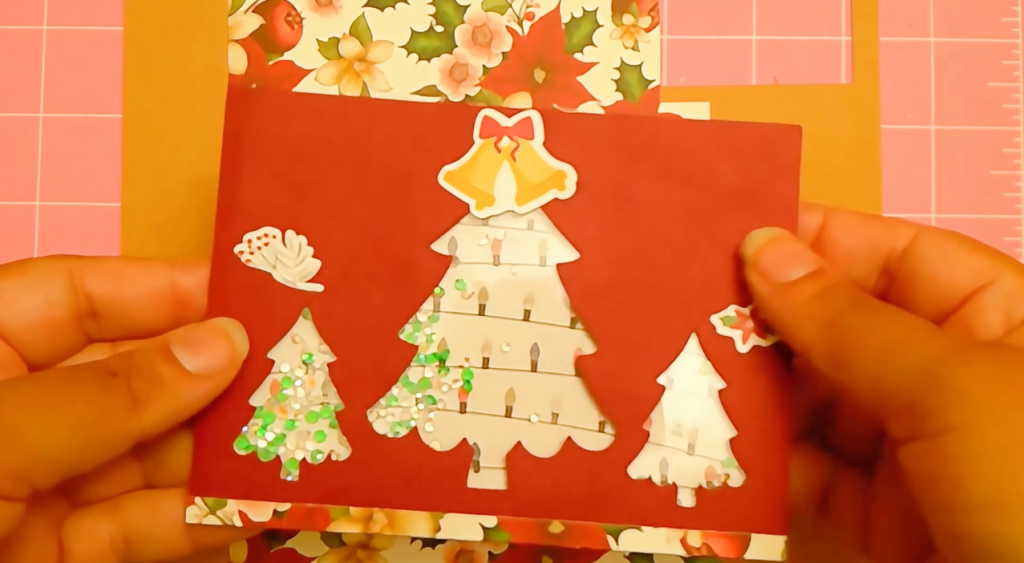
Step 4) Add the Shaker Card Front to the card base
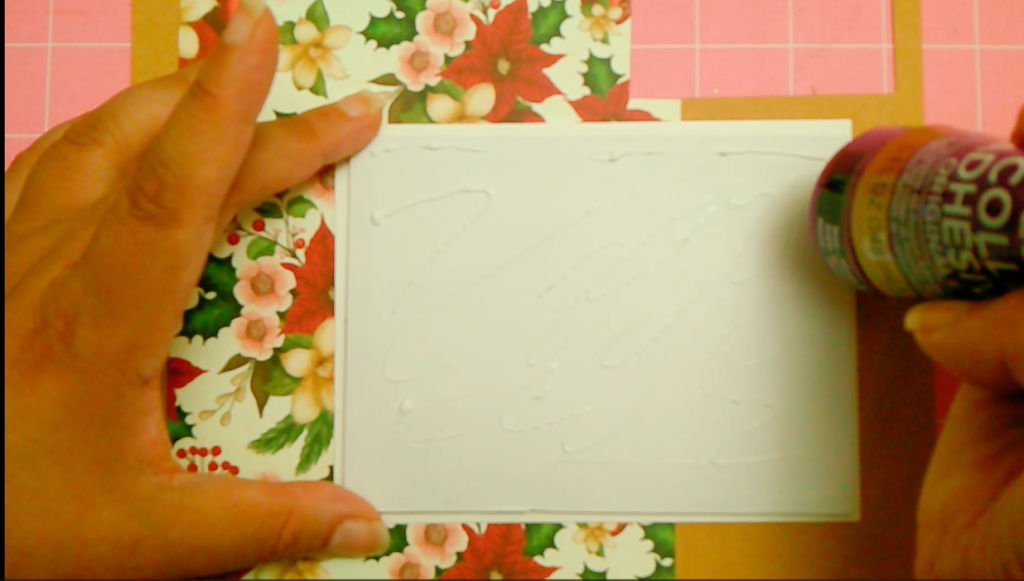
This step is the last step for this Christmas paper craft. All you have to do is adhere the shaker card front to the card base. You can use glue for this or double-sided tape.
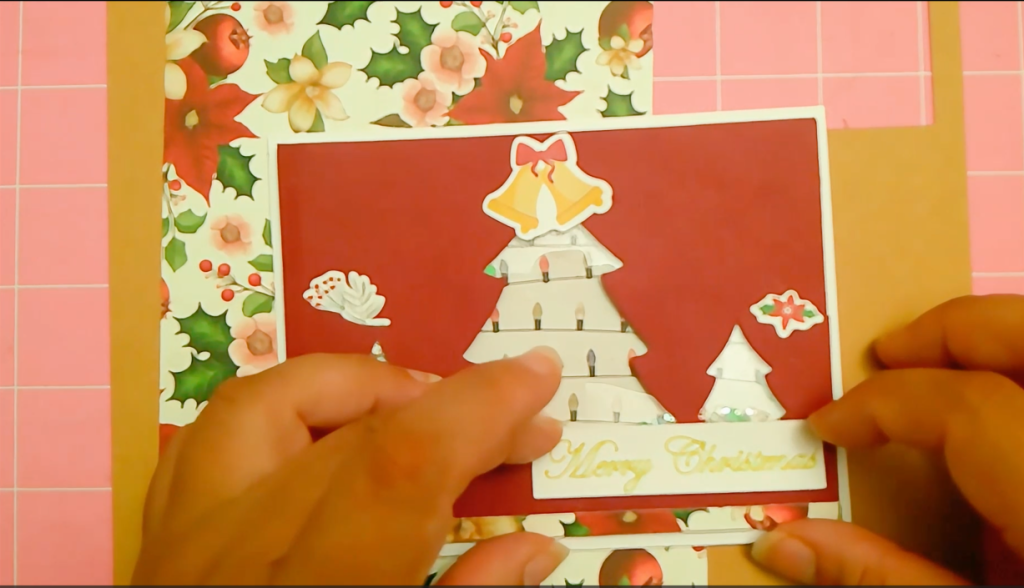
Now all that’s left is to add your sentiment! Then you are done!
Related Posts
Free Christmas Wish List Printable for Kids
Free Christmas Printable Gift Card Holder
How to Make a Christmas Glass Can Wrap with Your Cricut
Conclusion
I really hope you enjoy making this Cricut Christmas shaker card! What’s great about this Christmas card idea is that you can easily customize it to your liking! Use colorful shaker bits, use non-traditional Christmas colors, use a different sentiment, etc.

Recent Comments